





Set a Synchronization With Your Outlook Calendar
Applies to
Tip – Outlook meetings right where your clients are
Once your Outlook calendar is connected to eWay-CRM, your meetings are saved to the contacts, companies and deals they relate to. Nothing needs to be copied by hand, and your whole team can see when you last met a client.
Note
Calendar synchronization is only available when eWay-CRM runs in our cloud. You also need permission to see the Calendar module, create items, and delete at least your own items.
You turn on calendar synchronization in the eWay-CRM Online settings. From then on, events from the selected calendars of your Microsoft 365 account are saved to eWay-CRM. Right after you save the settings, you can also import your older events.
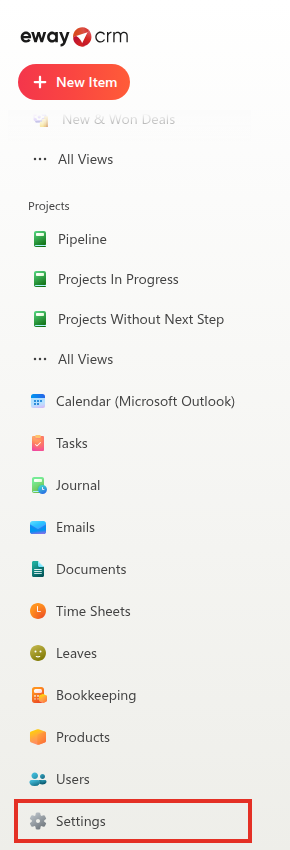
- In the left menu of eWay-CRM Online, click Settings and open the Calendars tab.
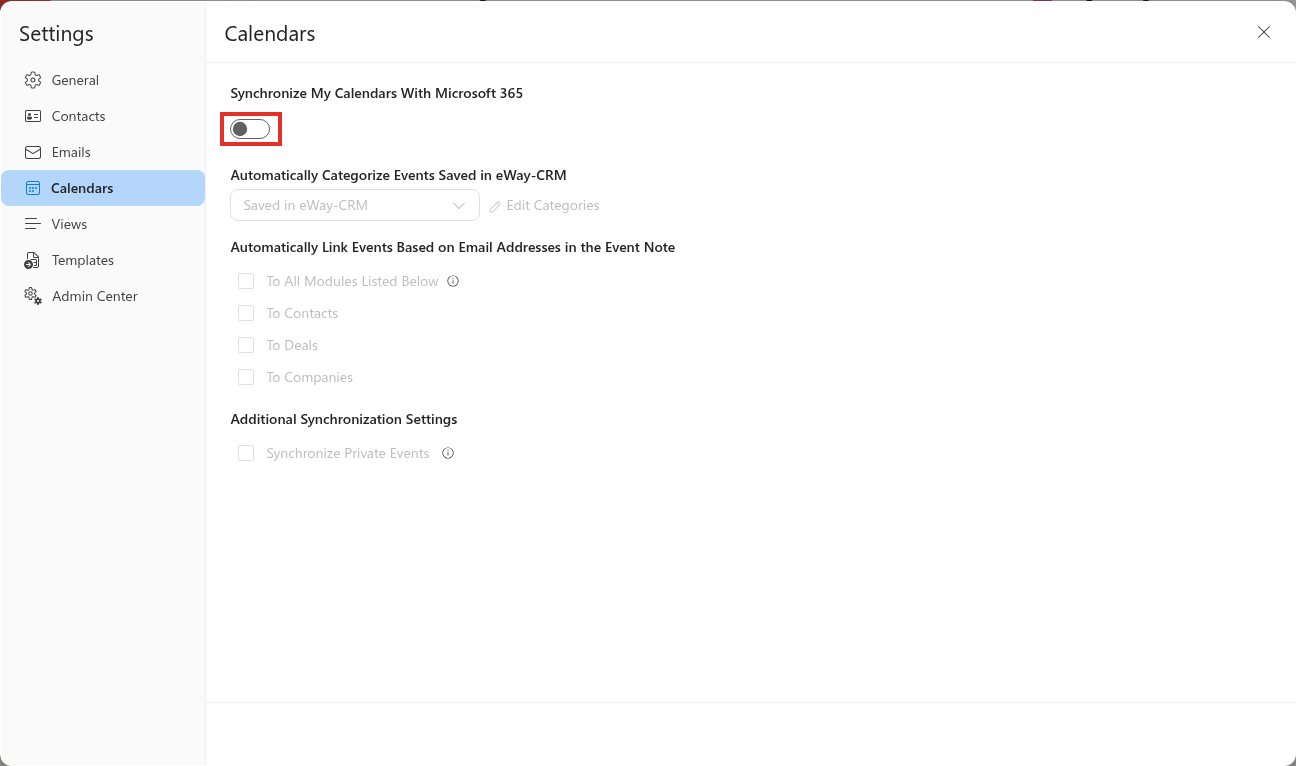
- Turn on Synchronize My Calendars With Microsoft 365 and sign in to your Microsoft 365 account.
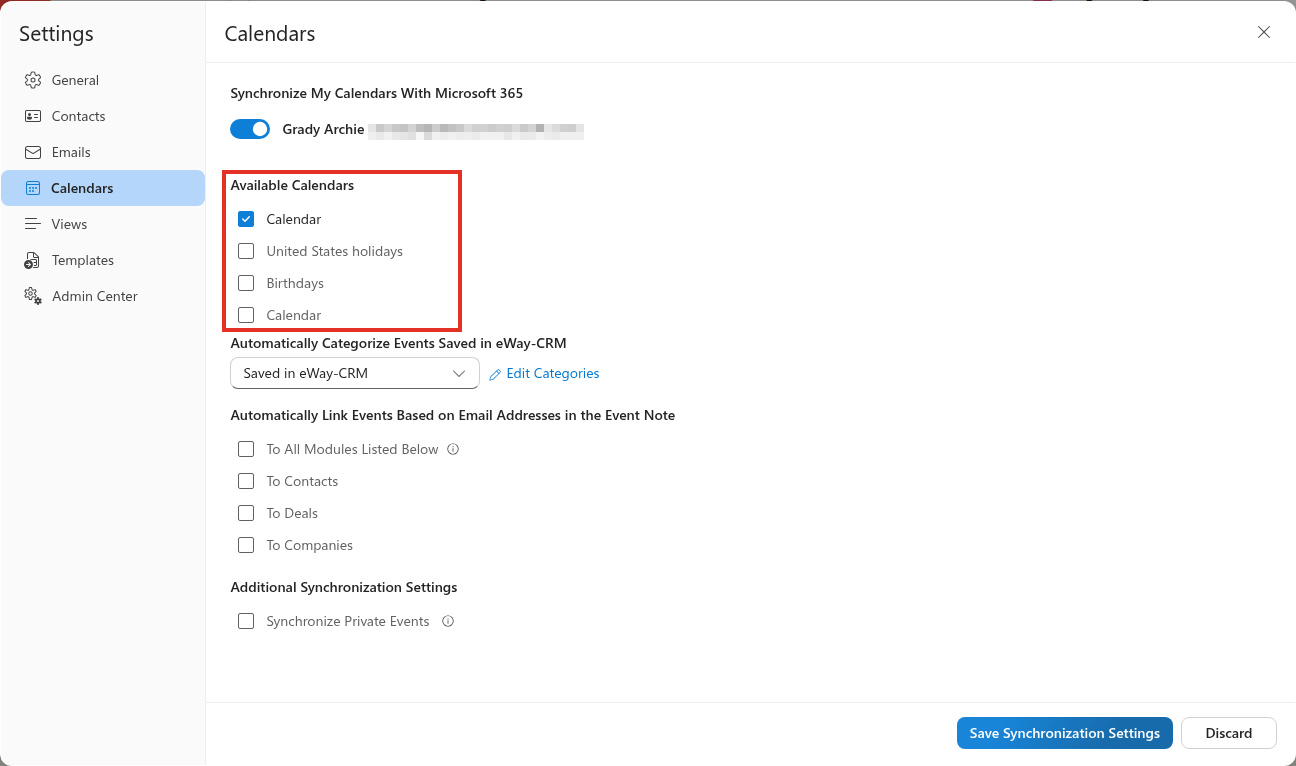
- Under Available Calendars, select the calendars you want to synchronize. Your main work calendar is usually enough.
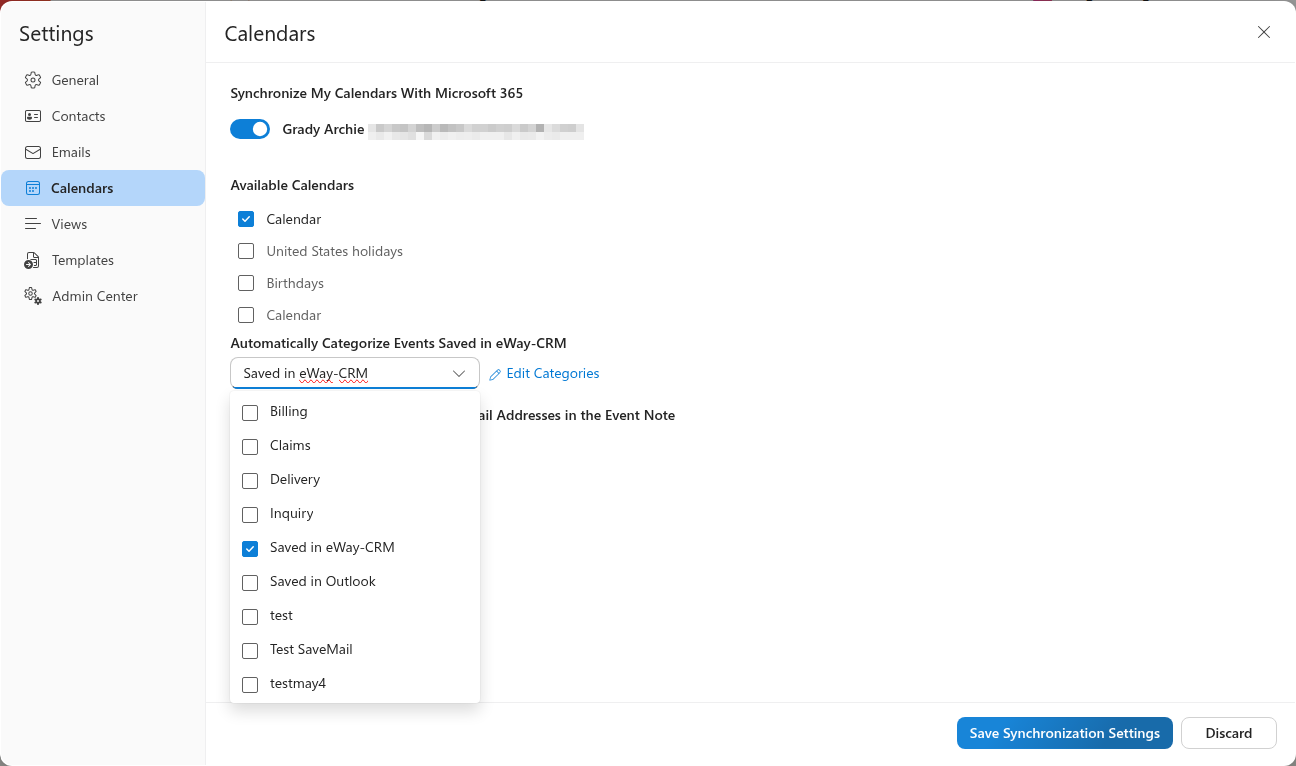
- In Automatically Categorize Events Saved in eWay-CRM, choose the category that events saved to eWay-CRM will get. This way you can tell at a glance in Outlook which meetings are already in eWay-CRM. You can select more than one category, and create a new one with Edit Categories.
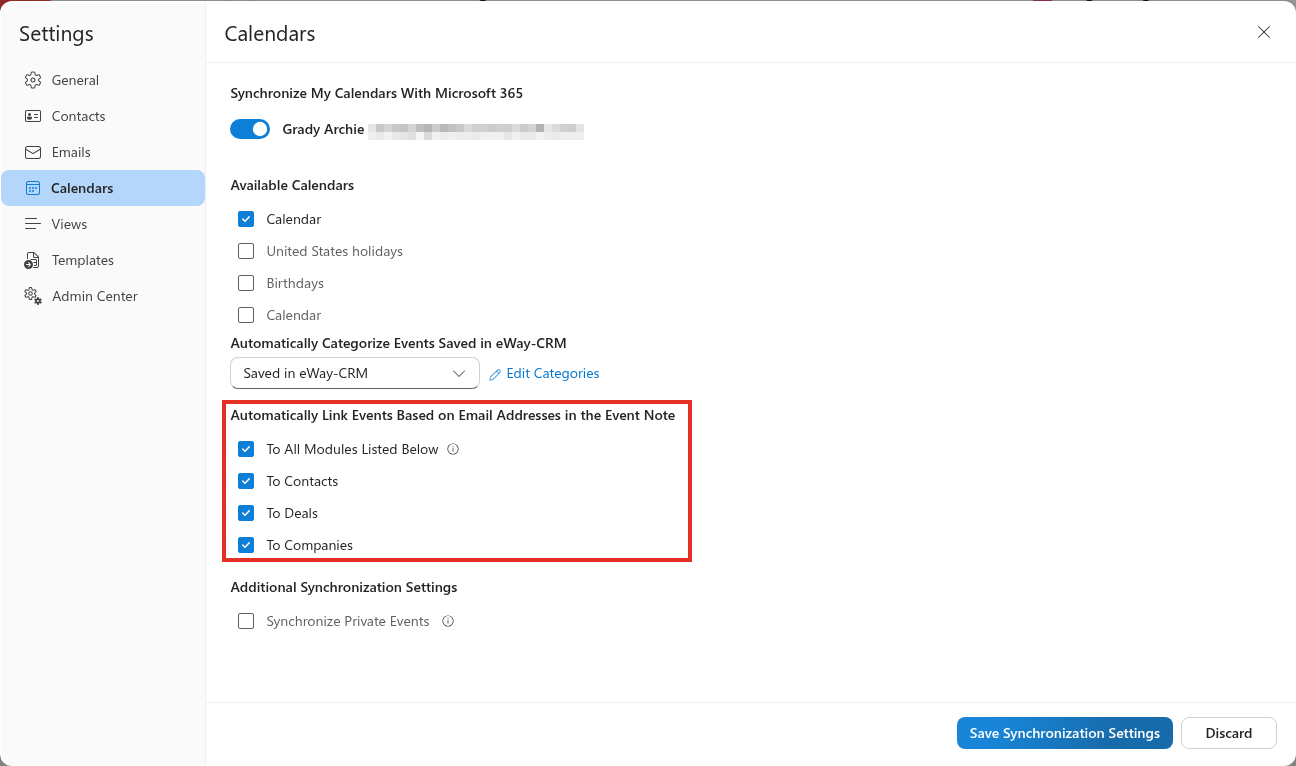
- Under Automatically Link Events Based on Email Addresses in the Event Note, choose what events should be linked to automatically: To Contacts, To Deals or To Companies. If the event note contains an email address, eWay-CRM finds the matching items and links the event to them. To All Modules Listed Below selects all three options at once.
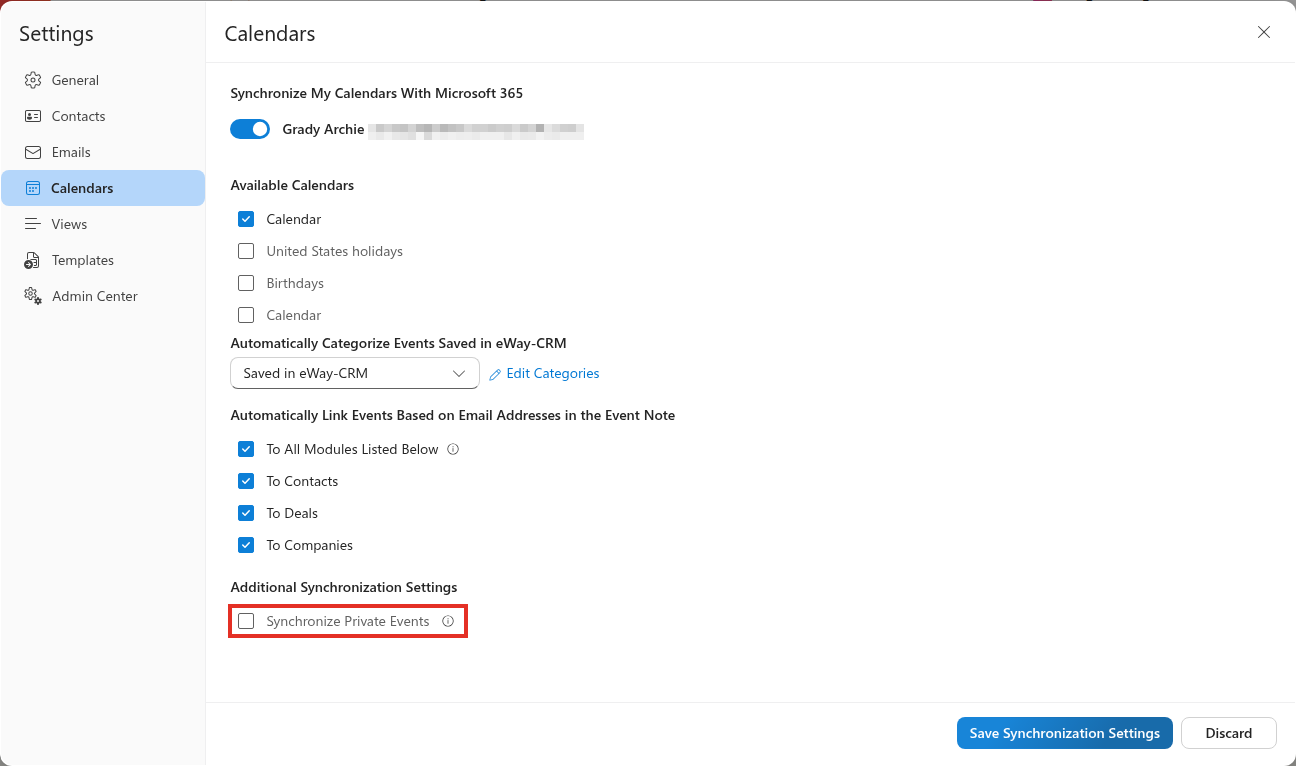
- If you also want to save events marked as private in Outlook, select Synchronize Private Events. Without this option, private events are not synchronized.
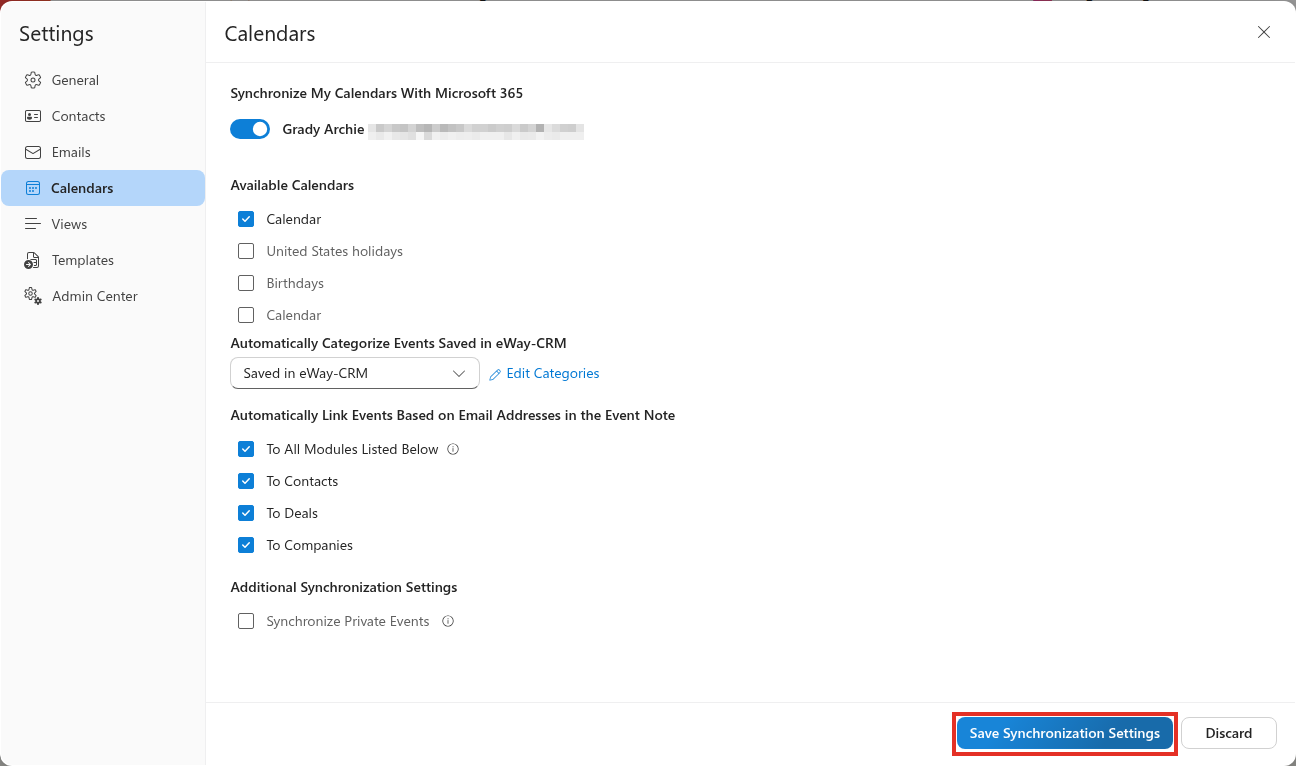
- Click Save Synchronization Settings.
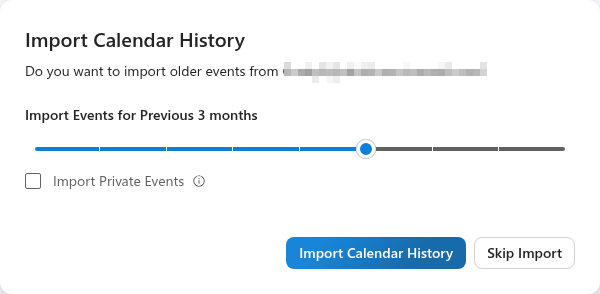
- Synchronization only saves events from the moment you turn it on, so eWay-CRM immediately offers to import the events already in your calendar. In the Import Calendar History window, use the slider to choose the period. The options range from Import Only Upcoming Events through the previous 7 days up to a year, or Import All Previous Events. To include private events, select Import Private Events. Then click Import Calendar History. If you don’t need older events, choose Skip Import.
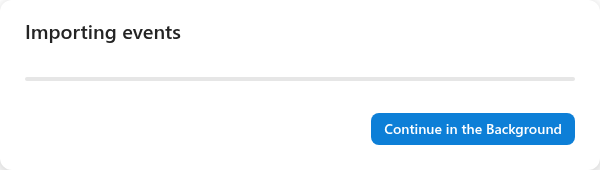
- You can follow the import in the Importing events window. There’s no need to wait: click Continue in the Background and keep working. When the import is done, you’ll see Import of events has been successfully finished. The saved events then appear on the Calendar tab of the contacts, companies and other items they are linked to.
Was it useful?

Thank you for your feedback.

