Process Right to Restriction of Processing
Subjects can ask the Controllers to limit the processing purpose of their personal data, according to article 18, GDPR. For instance, they may opt-out from the marketing news subscription, but they still wish to stay listed among other databases.
Save the Subject’s Request
Sent by Email
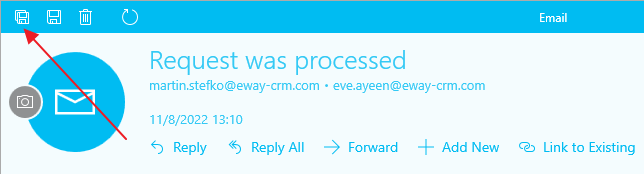
- Double-click the email in order to open it.
- Click on GDPR Relevant within the top toolbar. This way the email will be saved into eWay-CRM just as if you use Save to eWay-CRM.
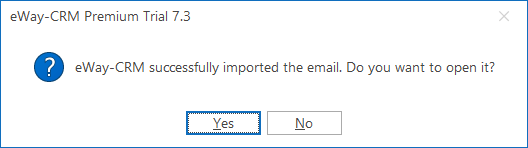
- When a window pops-up, asking whether you want to open the email, click Yes.
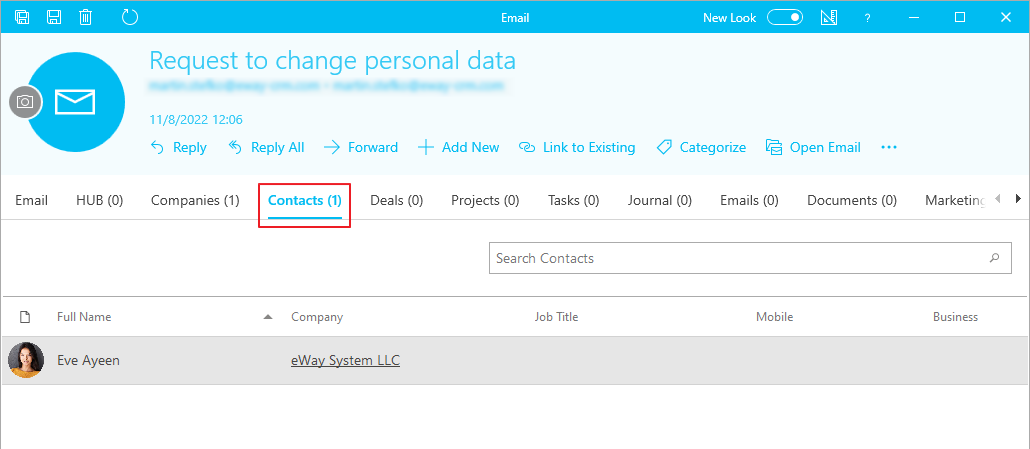
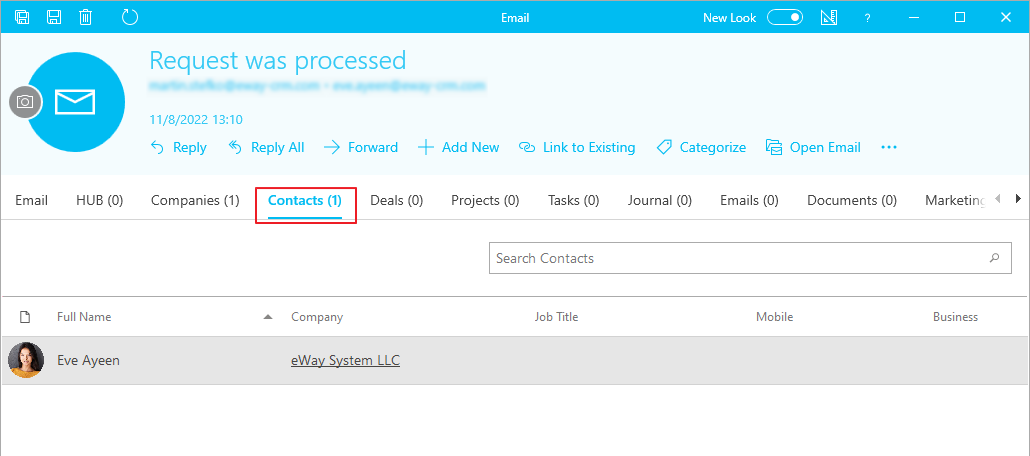
- Make sure the email has been correctly linked to a contact (eventually a deal or a project) and that the request hasn’t been sent from an address not in eWay-CRM yet, for instance.
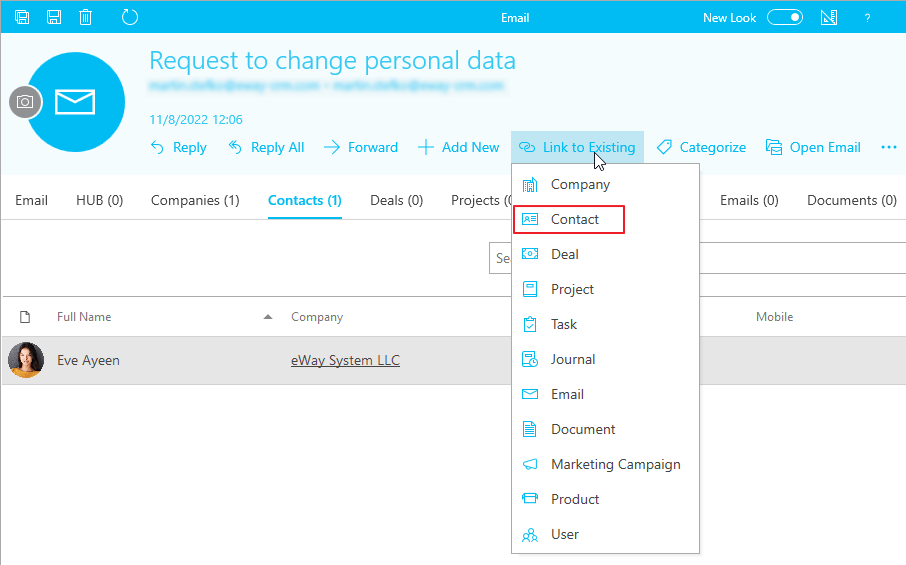
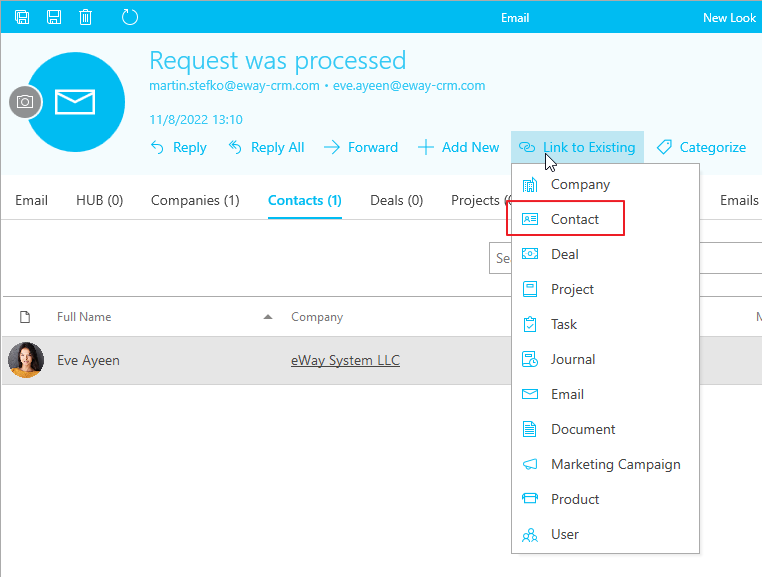
- If the email isn’t linked to a contact, press Link to Existing > Contact and choose the desired person.
- Of course, in case you need your email linked to a deal or a project, follow similar steps.
- Click Save and Close.


Written / Received Over Telephone
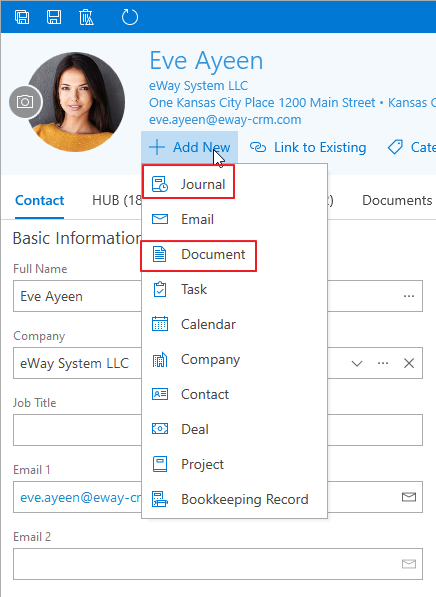
- Find a contact (deal, or company) who submitted the request.
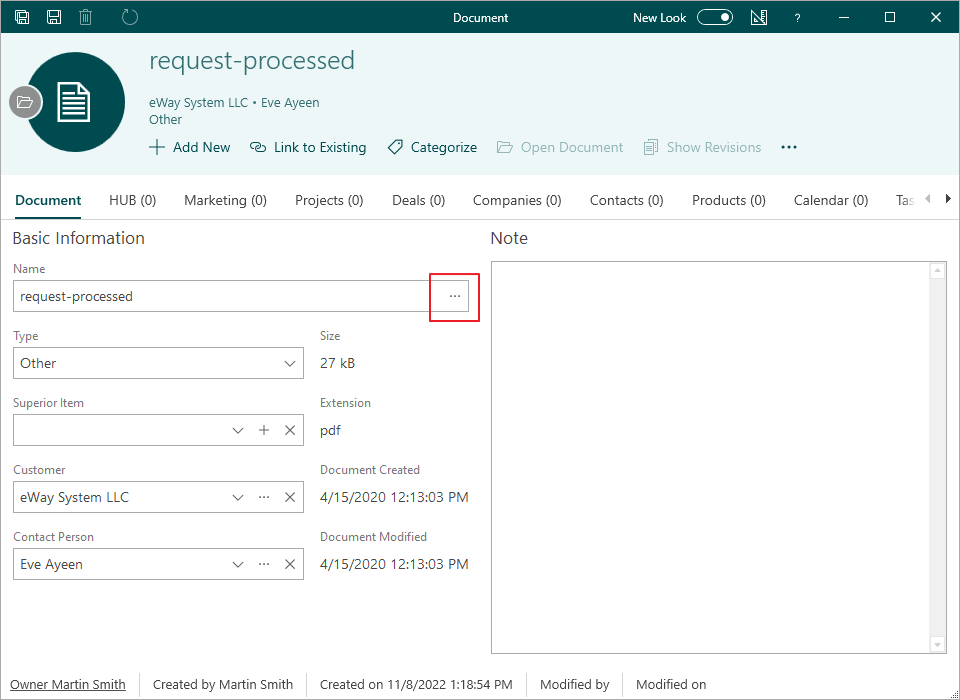
- Through Add New > Journal or Add New > Document, create a new item. We use documents when we have a scan of the request. We use journals when we got the request verbally.
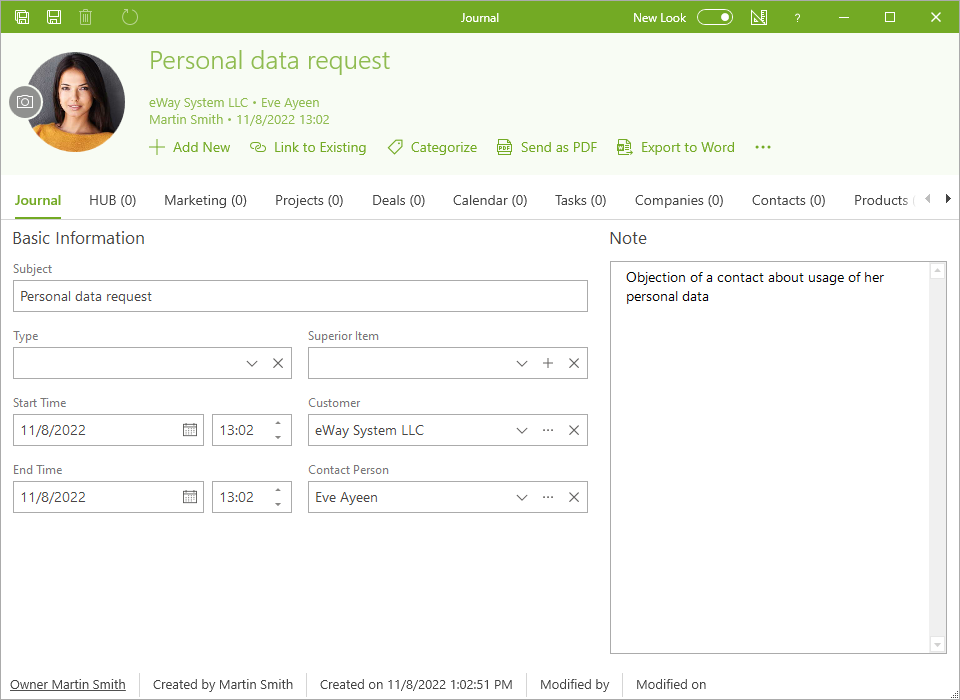
- Fill in the request details, eventually add the scanned document.
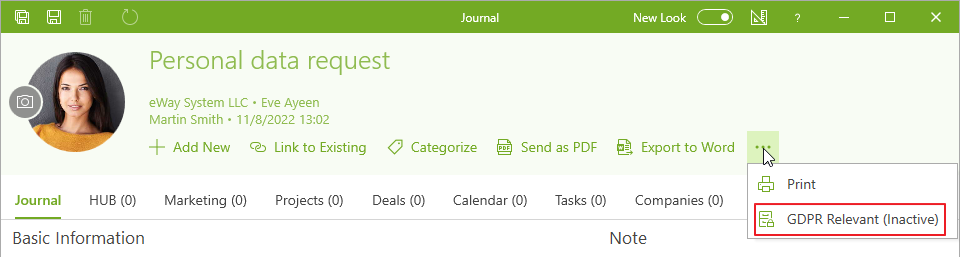
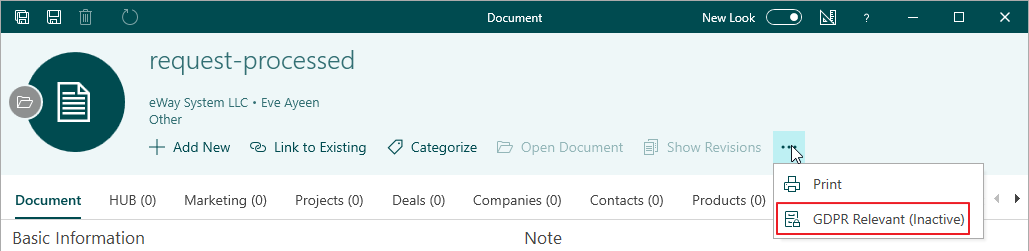
- Click GDPR Relevant. That will help us later with a better request identification.
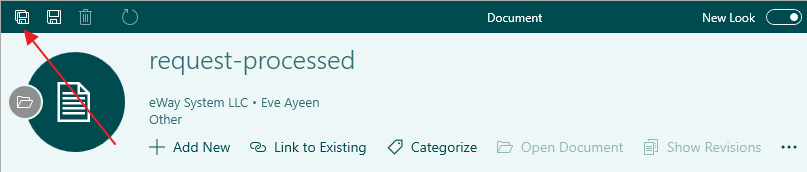
- Click Save and Close.

Process the Request
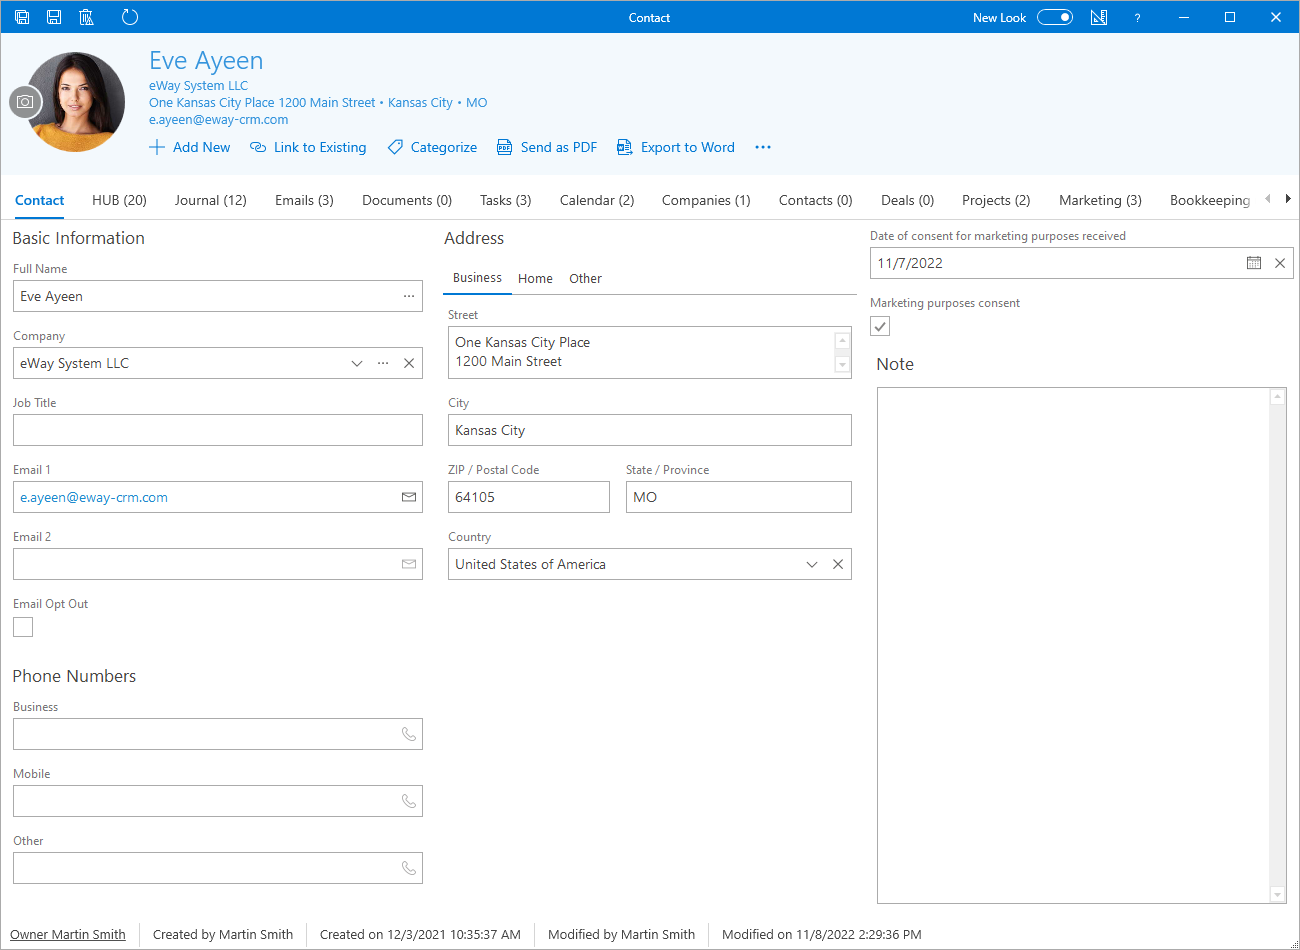
- Open the card of a contact (or deal, or company).
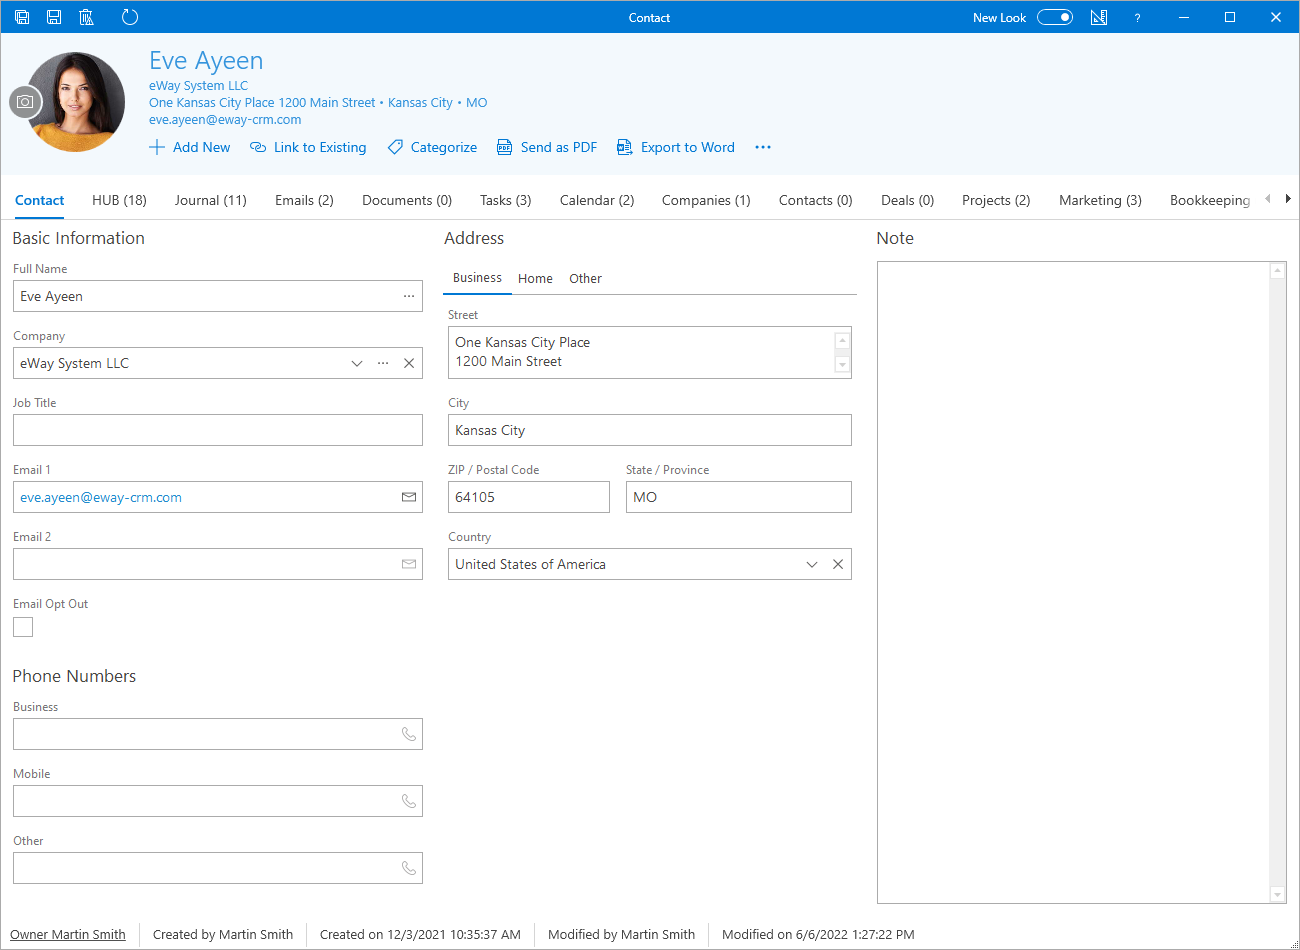
- Delete the consent receiving information – Marketing purpose consent, respectively Date of marketing purposes consent received field (see How to Record Processing Consents).
- Click Save or Save and Close.


By clicking History in the main toolbar of a contact card, you will find a record of the change. That way, anyone can find out who and when deleted the data within the field – that is, when you lost consent.
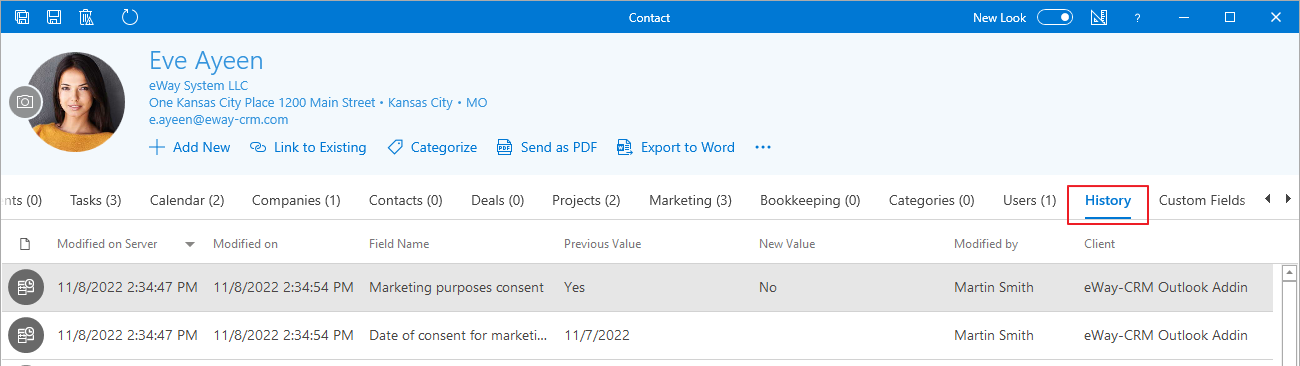
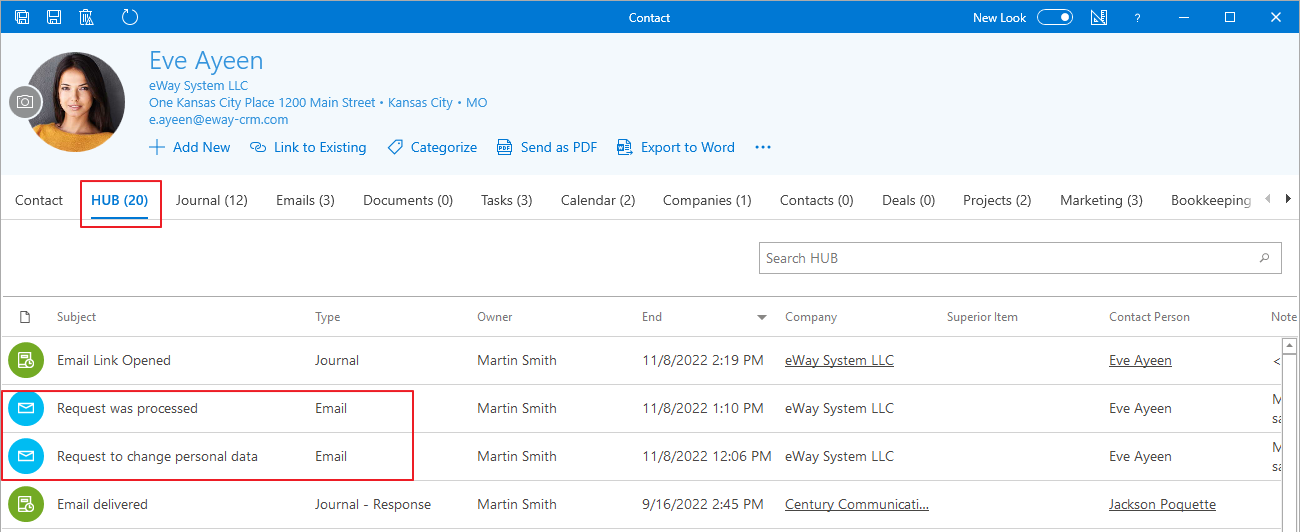
Also, you can find the client’s request marked as GDPR Relevant within the HUB, with that day and time.
Save the Answer to eWay-CRM
Sent by Email
Automatic Email Tracking Is Active
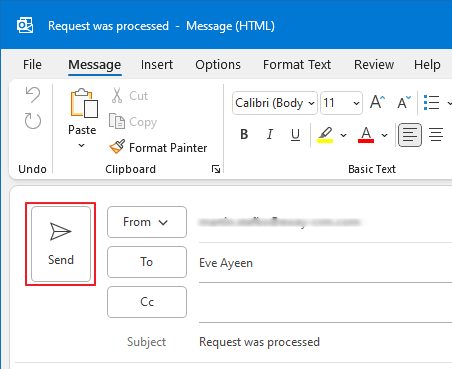
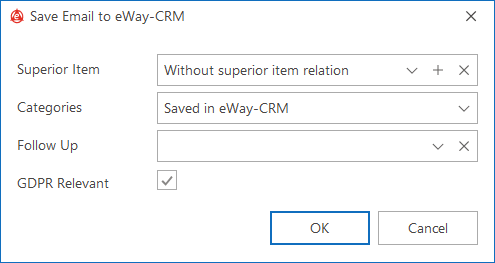
- Write your email and click Send.
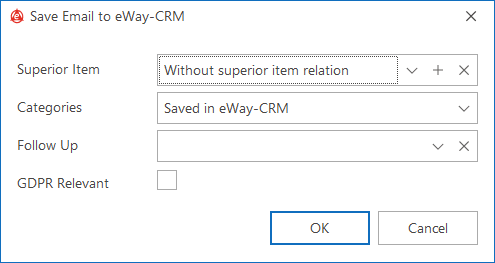
- A window will pop-up, asking whether you want to save your email to eWay-CRM.
- Check GDPR Relevant field.
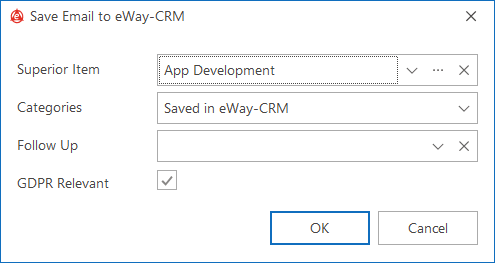
- You may choose a Superior Item.
- Press OK.
Automatic Email Tracking Is Inactive
- Double-click the email in Sent Mail.
- Click Save to eWay-CRM in the top toolbar.
- When a window pops up, asking whether you want to open the email, click Yes.
- Make sure the email has been correctly linked to a contact (eventually a deal or a project) and that the request hasn’t been sent from an address not in eWay-CRM yet, for instance.
- If the email isn’t linked to a contact, press Link to Existing > Contact and choose the desired person.
- Of course, in case you need your email linked to a deal or a project, follow similar steps.
- Click GDPR Relevant. That will help us later with a better request identification.
- Click Save and Close.


Written / Telephone
- Find a contact (deal, or company) who submitted the request.
- Through Add New > Journal or Add New > Document, create a new item. We use documents when we have a scan of the request. We use journals when we got the request verbally.
- Fill in the request details, eventually add the scanned document.
- Click GDPR Relevant. That will help us later with a better request identification.
- Click Save and Close.
Do you have questions? Our consultants have answers.
Do not hesitate to contact us.
You can also book our consultant. We will make a demo just for you.