Sales - Master eWay-CRM
Track Your Potential Business.
Step 1: Track Business Opportunities
Creating a new deal is similar to creating a new contact. We have already learned that yesterday. Imagine that you have received a promising email asking for more information or a call.
- Right-click the email in your mailbox and select Convert to Deal in the context menu.
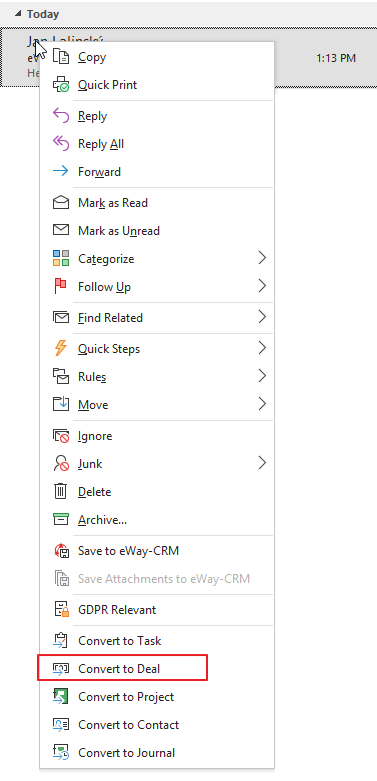
- A new deal card will be created with pre-filled data from the email. The email will be attached to the new deal automatically.
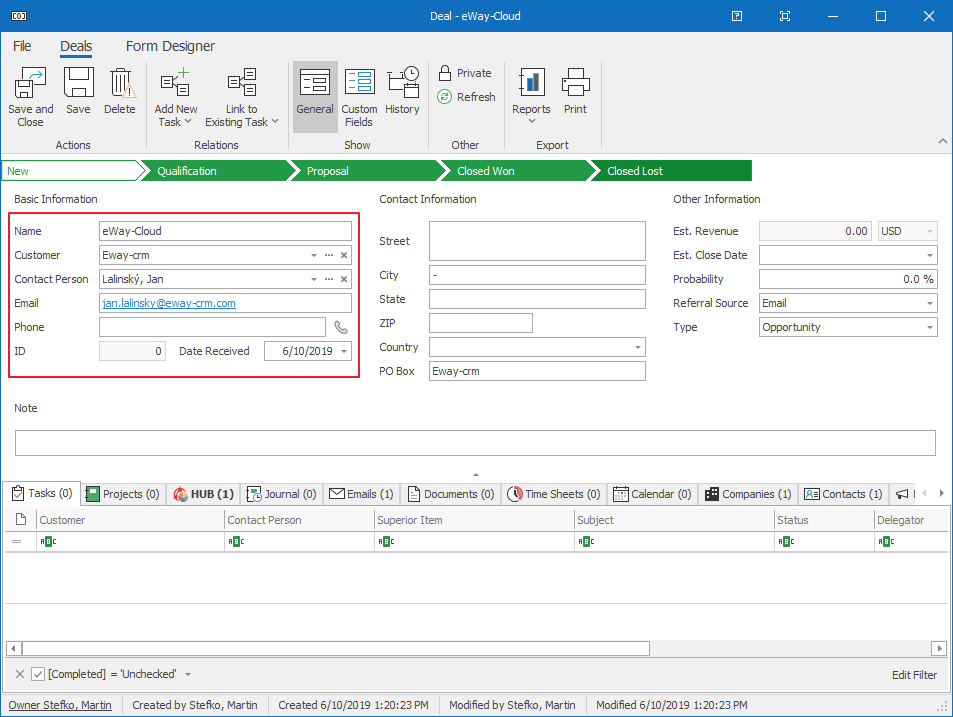
- Correct or fill in missing fields and click Save.
![]() Tip for you: You can also create a deal manually with the New button in the ribbon. Learn more at How to Create Deals Manually.
Tip for you: You can also create a deal manually with the New button in the ribbon. Learn more at How to Create Deals Manually.
Step 2: Schedule a Meeting
You’ve agreed on a meeting or a conference call. Let’s set it up in your calendar.
- Click Add New and choose Calendar.
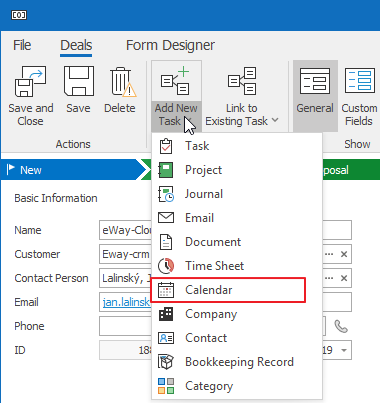
- A new calendar event will pop up with some fields prefilled: Subject, Location, and Notes.
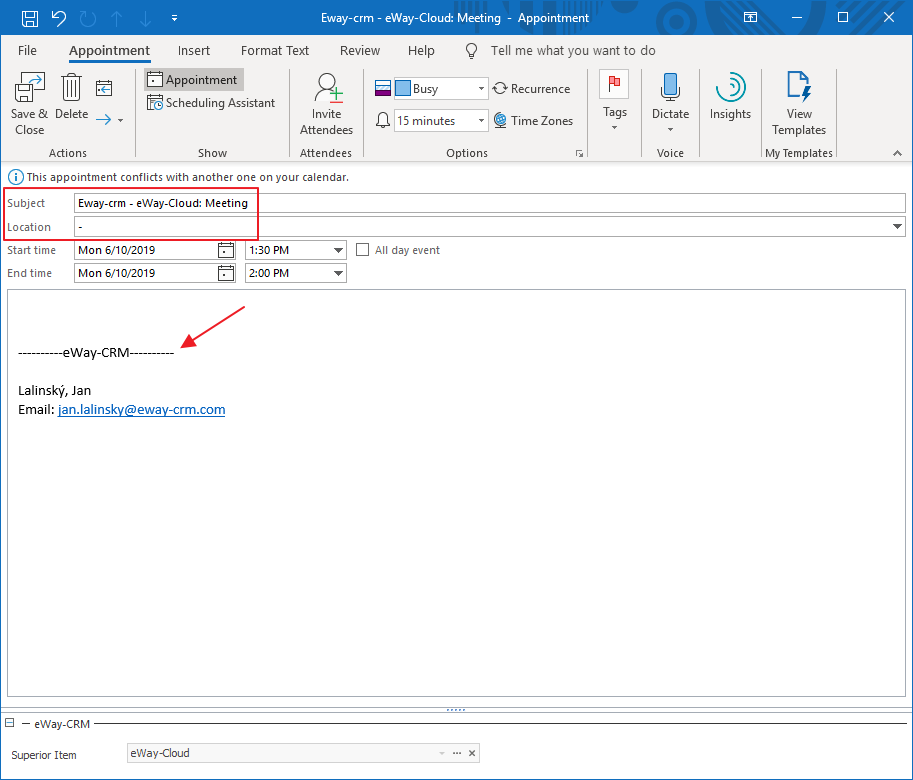
- To invite other people to the event, use the button Invite Attendees in the top part of the window. Just make sure that the note does not contain anything you’d like to keep under your roof.

- Save or Send the meeting. As a result, the event will appear both in your Outlook Calendar and under the Calendar tab on the deal.

![]() Tip for you: Alternatively, you can create a meeting in Outlook calendar
Tip for you: Alternatively, you can create a meeting in Outlook calendar
Step 3: Keep Notes From Your Meetings Organized
Yesterday, you learned how to create a new journal and take notes after a phone call. You can do the same during your meetings. If you want to learn something new today, follow these steps.
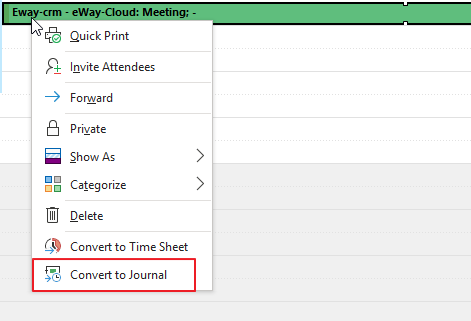
- During the meeting or after it, you can right-click on the event in your Outlook calendar and convert it to Journal.
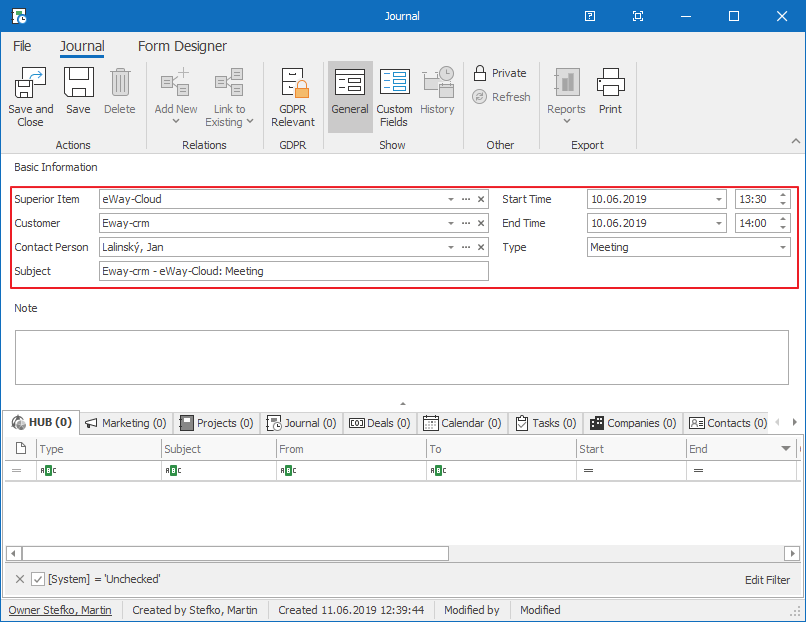
- A journal item will appear. Superior Item will contain the deal. Start Time and End Time will be filled with the calendar start/end. Use the large Note field to type down your notes. Do not forget to choose Meeting in the Type.
- Save and close.
Step 4: Send a Proposal By Email
When a customer is ready, it is time for a proposal. Create the proposal in Word, Excel or whatever software you prefer and send it via email. Saving it to the system helps you follow up in a few days.
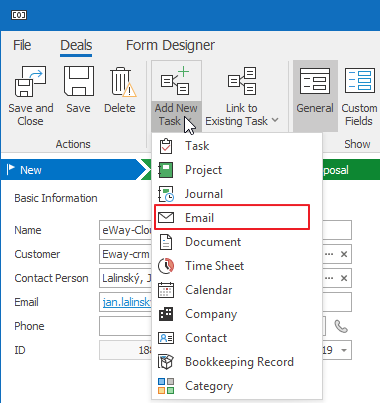
- Click Add New and choose Email.
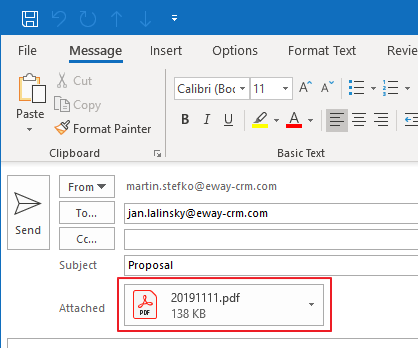
- A new email window pops up with the recipient’s email address filled in. Add the attachment and send the message.
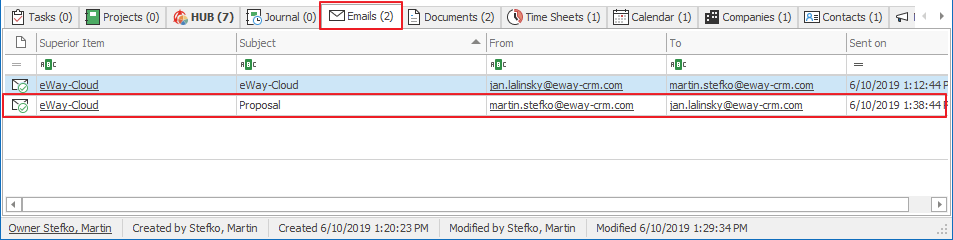
- You will find out the message on the deal cart in the HUB or under the tab Emails.
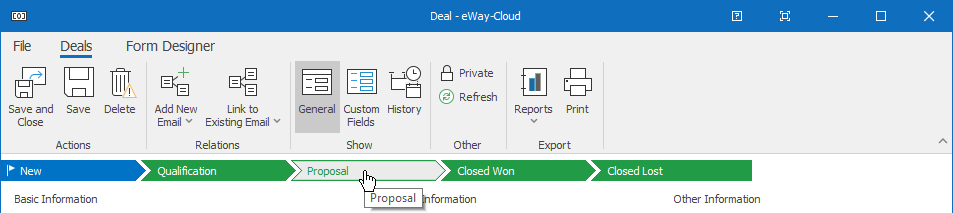
- Click on the Proposal status and Save and close the deal.
![]() Tip for you: Are you interested in other options of saving emails for deals? If so, take a look at the article How to Link Emails to Deals
Tip for you: Are you interested in other options of saving emails for deals? If so, take a look at the article How to Link Emails to Deals
Step 5: Seal The Deal
Success! Your proposal was accepted and the deal is closed. Let’s convert it into a project and launch the workflow.
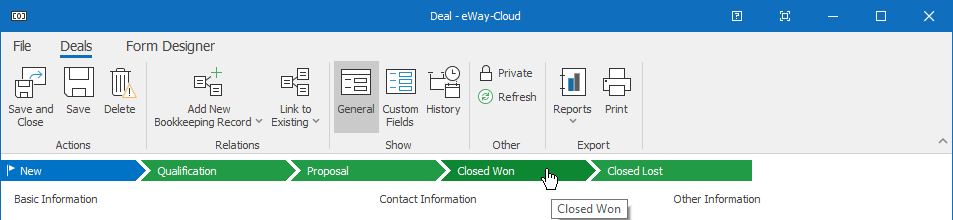
- Open the deal.
- Click on Closed Won status in the workflow tab.
- A new window will pop-up. Check all appropriate boxes and hit Yes.
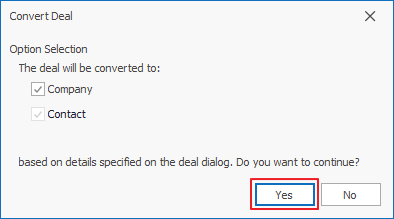
- The contact and company will be created in eWay-CRM that will includes previous communications. The deal itself will stay in eWay-CRM with the status “Closed Won.“
Do you have questions? Our consultants have answers.
Do not hesitate to contact us.
You can also book our consultant. We will make a demo just for you.