Projects - Master eWay-CRM
Customers are ready to do business with you. It’s time to kick the project off and deliver.
Step 1: Create a Project
You will never get lost in projects as long as you keep them in eWay-CRM. Set the project up, choose your team and plan a budget.
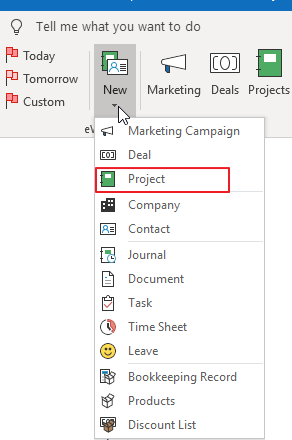
- Click New > Project in the eWay-CRM ribbon.
- Fill in all the necessary information. We strongly recommend entering Customer, Contact Person, Name, and Estimated End.
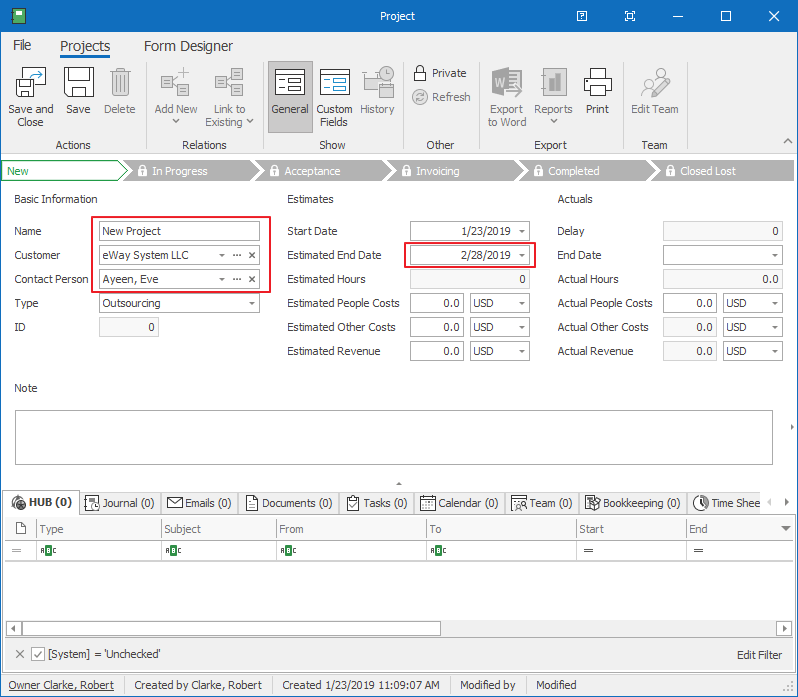
- Save the record.
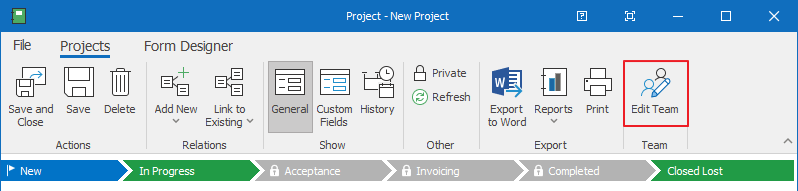
- If you want to add other team members to the project team, click Edit Team.
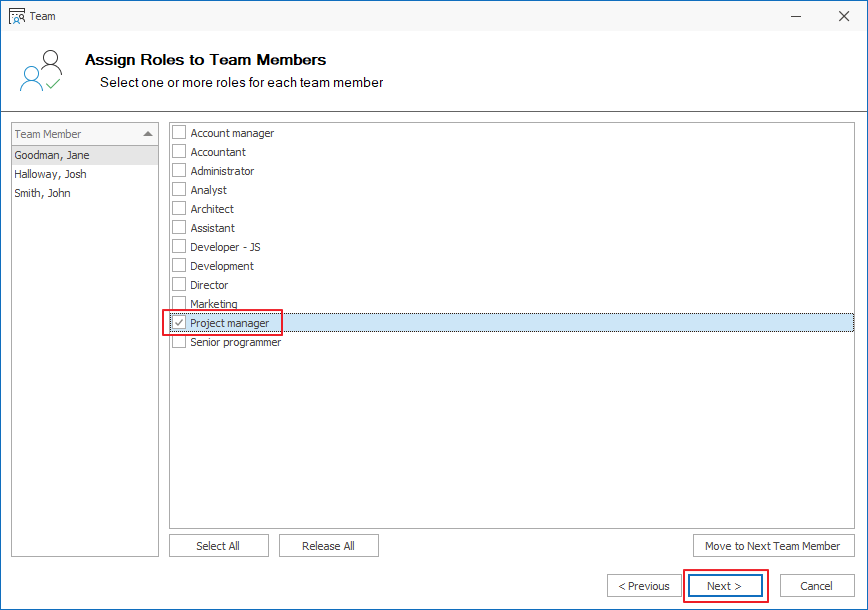
- Choose your colleagues and click Next.
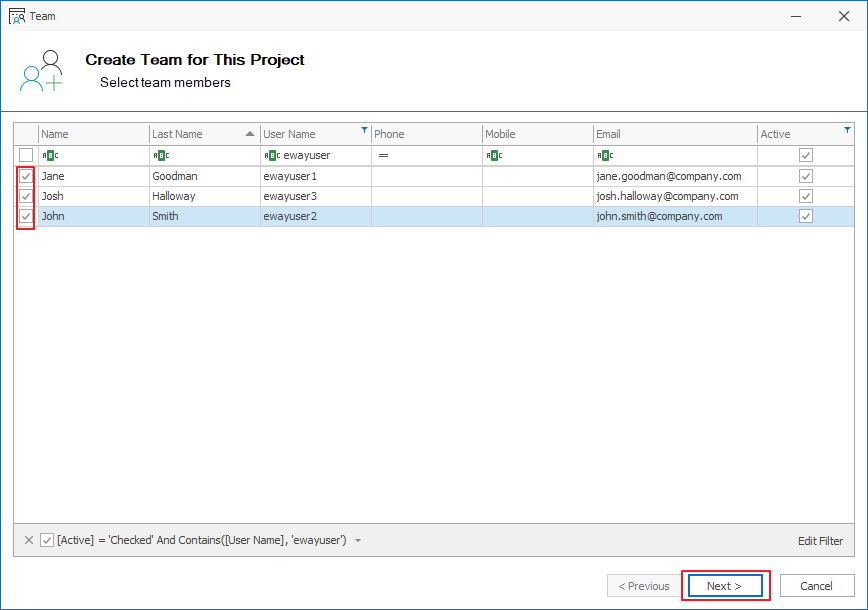
- In the following screen, you can assign their roles. You don’t need to mark everyone. Just make sure you chose a Project Manager – the one who is responsible for the job. Confirm by OK.
![]() Tips for you:
Tips for you:
If you work with module Deals as well, a new project is automatically created right as you convert a deal into a project.
If you have received an email from your customer, you can convert it to a project right away. Just follow the steps at How to Create Projects from Emails page.
Step 2: Create and Assign Tasks
Use tasks to establish deadlines and keep your projects up to date. You can review all the tasks assigned to a particular project at any time in both eWay-CRM and Microsoft Outlook TODO list.
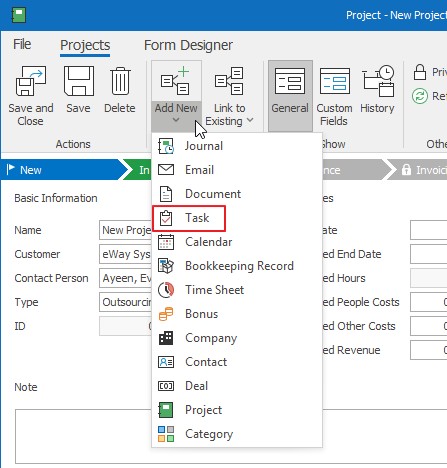
- Click Add New and choose Task.
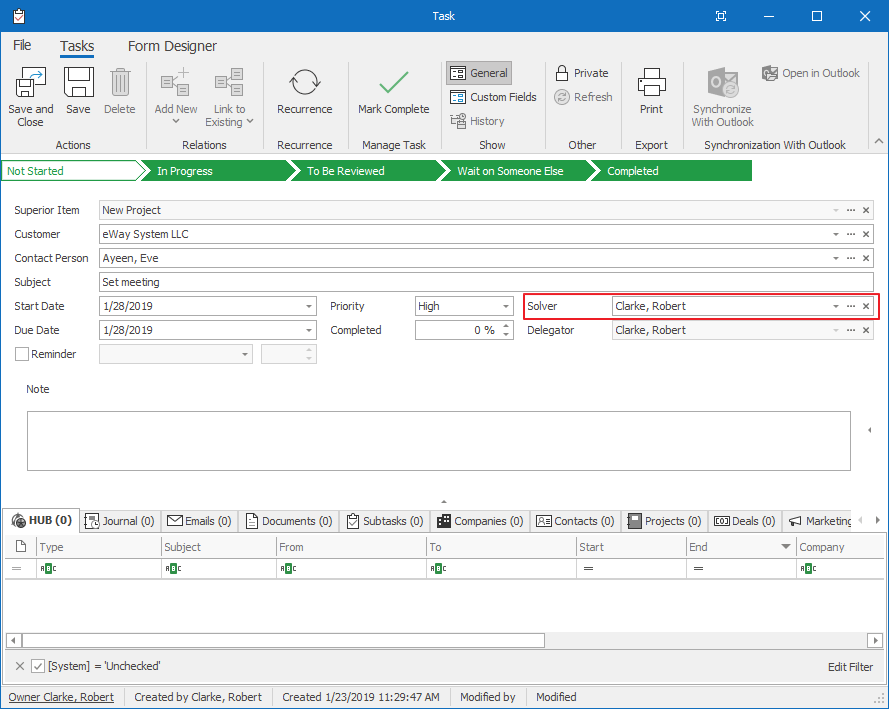
- If you want to assign a task to somebody else, click the Solver field and select new user. Save the task.
![]() Tip for you: Sooner or later you will need to add tasks to an existing project. You can create a task right in Microsoft Outlook and link it with the eWay-CRM project. Find out how to do it.
Tip for you: Sooner or later you will need to add tasks to an existing project. You can create a task right in Microsoft Outlook and link it with the eWay-CRM project. Find out how to do it.
Step 3: Track Your Communication History
In most projects, customers specify their needs and provide feedback. Write down important notes and attach emails to keep everything in one place.
Attaching Emails
- You’ve already learned how to send an email from the contact cart. Let’s have a look at how to attach an incoming email to a project manually.
- Open the email in Outlook.
- In the bottom section, you will find a field Superior Item. Select a project. That’s it.

- You can click on three dots to open the project. The email will be available under tabs HUB and Emails.
![]() Tip for you: To diligently save outgoing emails into eWay-CRM, follow this article.
Tip for you: To diligently save outgoing emails into eWay-CRM, follow this article.
Taking Notes
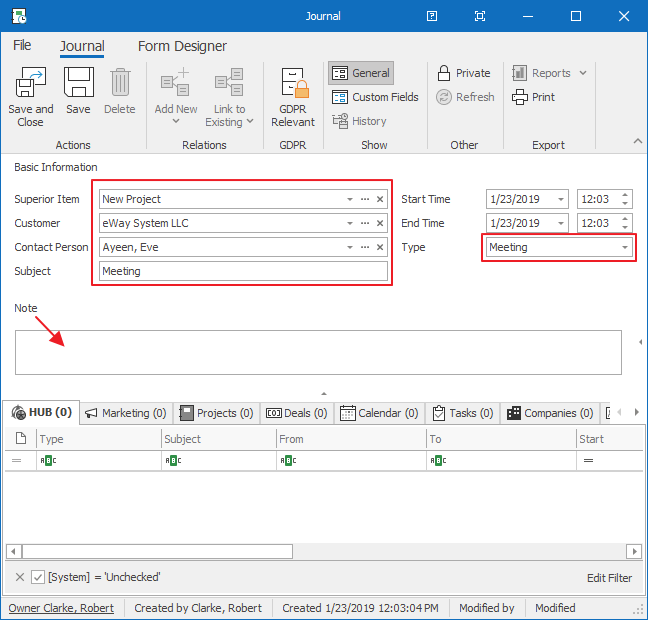
- Click New > Journal in the eWay-CRM ribbon.

- Fill in the Subject and Type. Write down details of the call/meeting into the Note. Choose a project in the Superior Item.
- Save and close the journal.
![]() Tip for eWay-CRM Premium: You can create a journal in eWay-CRM Mobile too. To find our more, please visit this link.
Tip for eWay-CRM Premium: You can create a journal in eWay-CRM Mobile too. To find our more, please visit this link.
Step 4: Update the Project Status
As the delivery continues, you need to change the project status. Keeping order in your projects will help you get the total overview.
- Open a project.
- Click on the green status. It will turn white to signalize you where you want to move the project to.
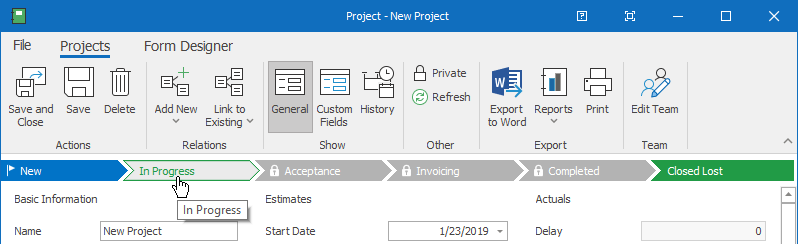
- Save and close.
- Use the project list to see all jobs and their stages.

![]() Tip for you: Have a look at your mobile app and find the project. You will see all the information in the HUB. This way, you can access your eWay-CRM data on the go.
Tip for you: Have a look at your mobile app and find the project. You will see all the information in the HUB. This way, you can access your eWay-CRM data on the go.
Do you have questions? Our consultants have answers.
Do not hesitate to contact us.
You can also book our consultant. We will make a demo just for you.