
Send Professional Bulk Emails
Applies to

This feature is available in module Marketing (Free).
Contents
eWay-CRM has a professional mass mailing and response tracking feature embedded right in it.
With Professional Emails, you can:
- Personalize your emails with names and salutations.
- Send attachments.
- Collect feedback and track responses.
- Send emails even if your Outlook is closed.
- Link your campaign with Google Analytics.
- Track unsubscribe reasons.
- Set up delayed sending.
Creating a New Marketing Campaign
- Click New on the eWay-CRM ribbon and select Marketing Campaign.
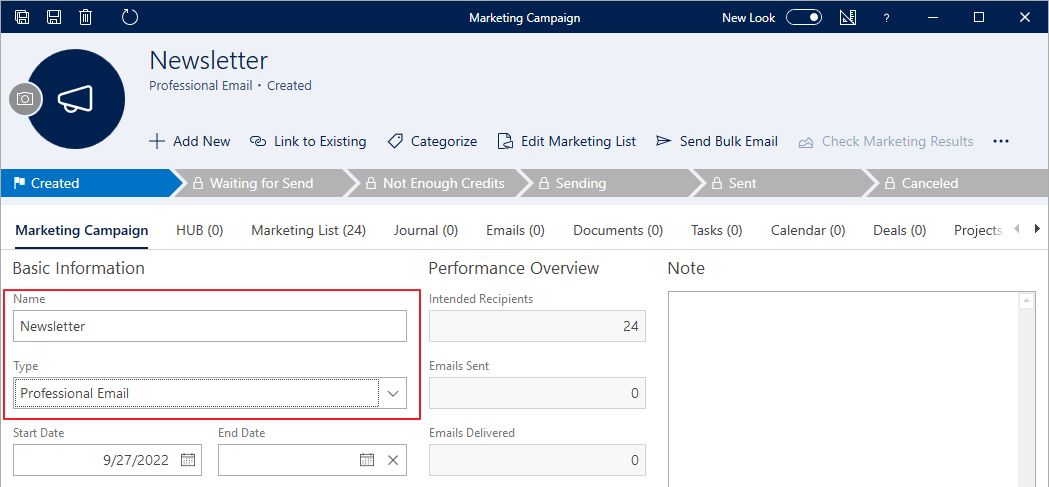
- In the new window specify the Name and Type – Professional Email. Click Save.
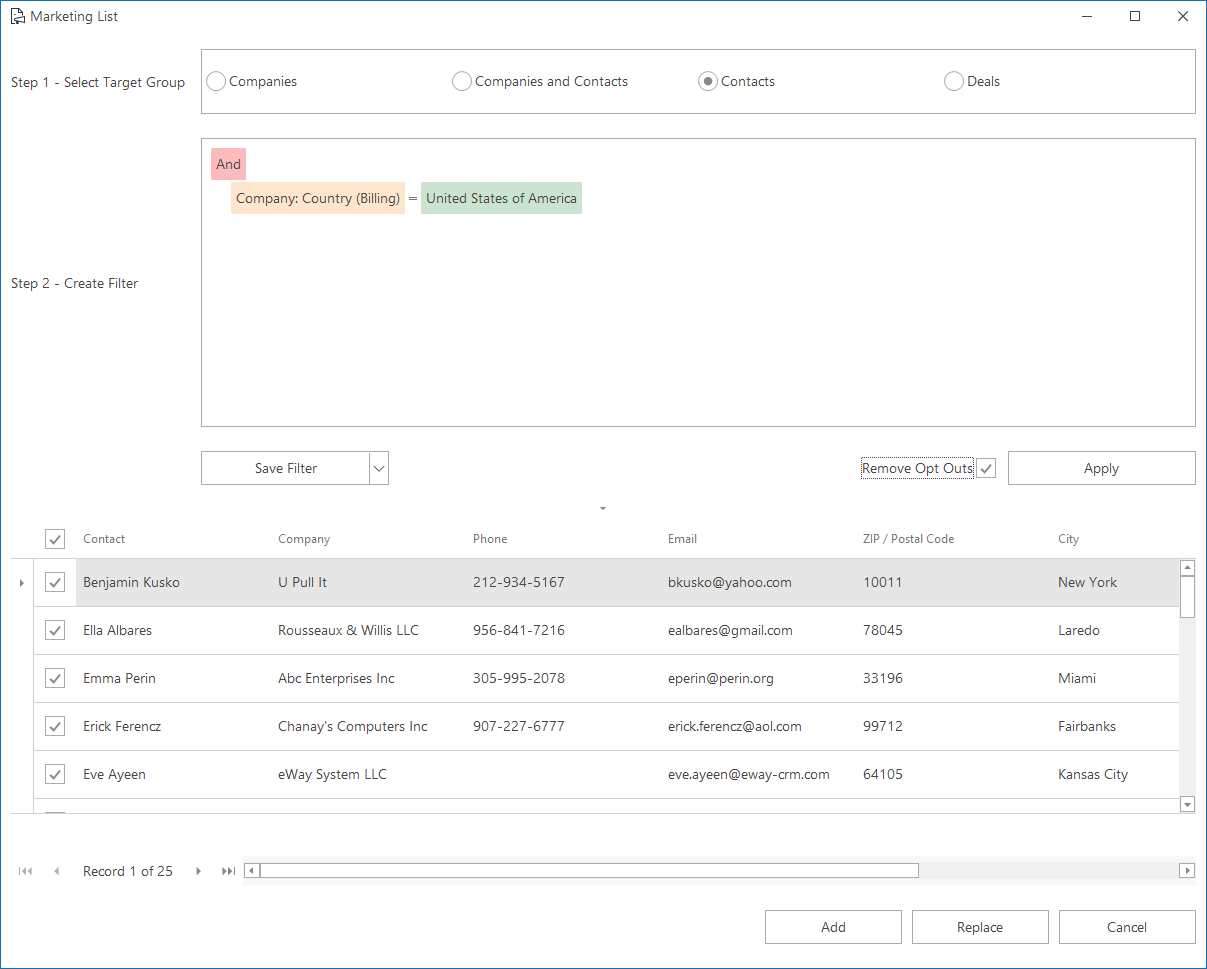
- To create a list of recipients, click the Create Marketing List button.
- Select a target group, create filter and click Apply. You may use the filter editor to choose just the data you want. To learn more click here.
- The list of recipients will appear. Click Add.
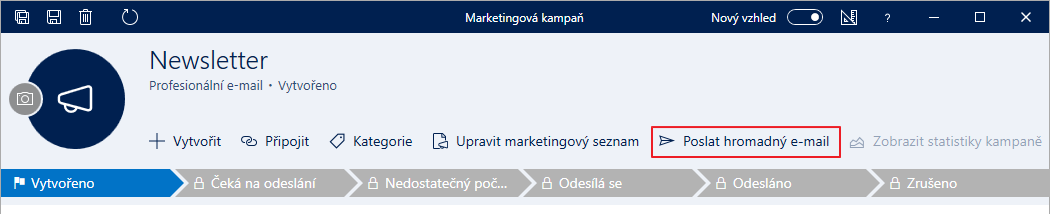
- Click Send Bulk Email.
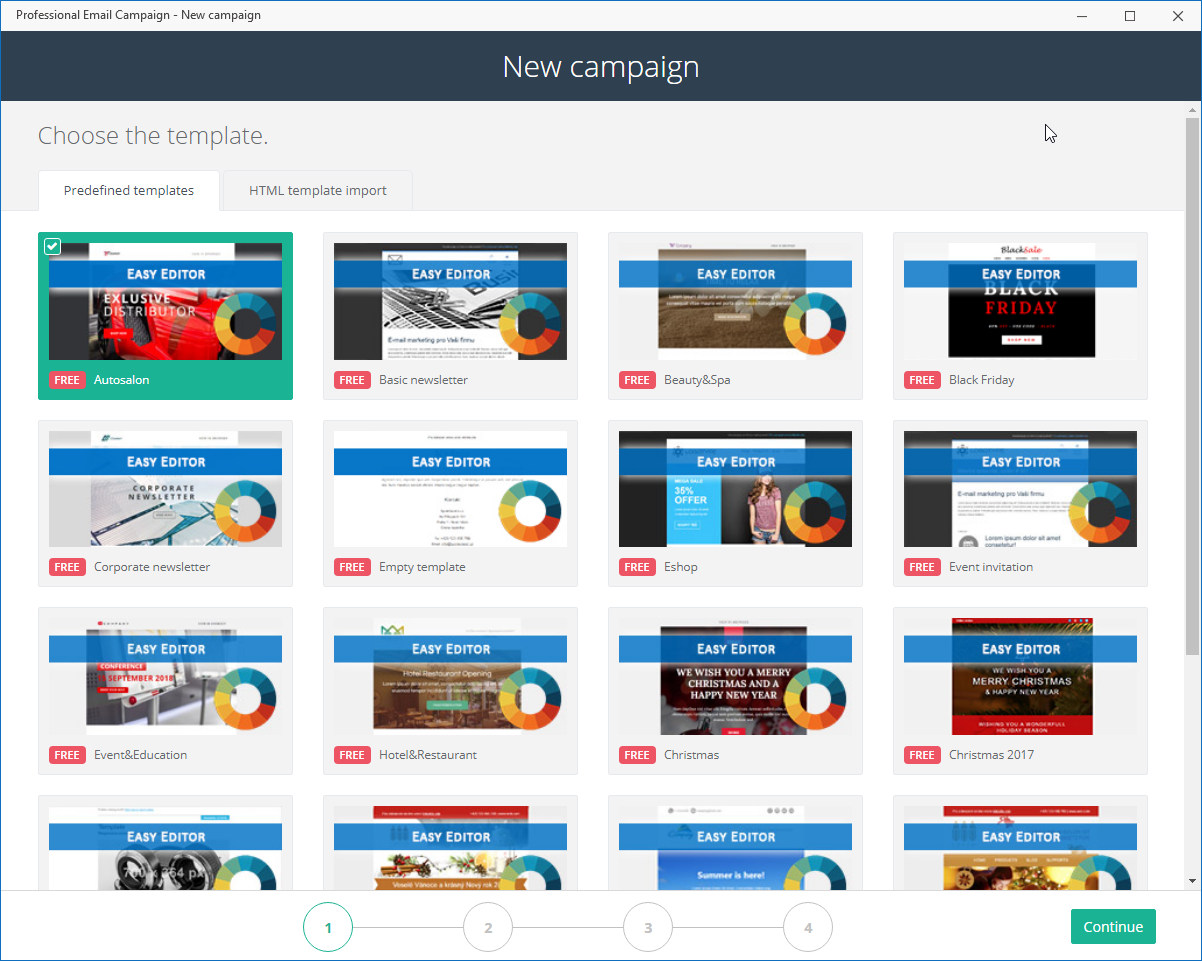
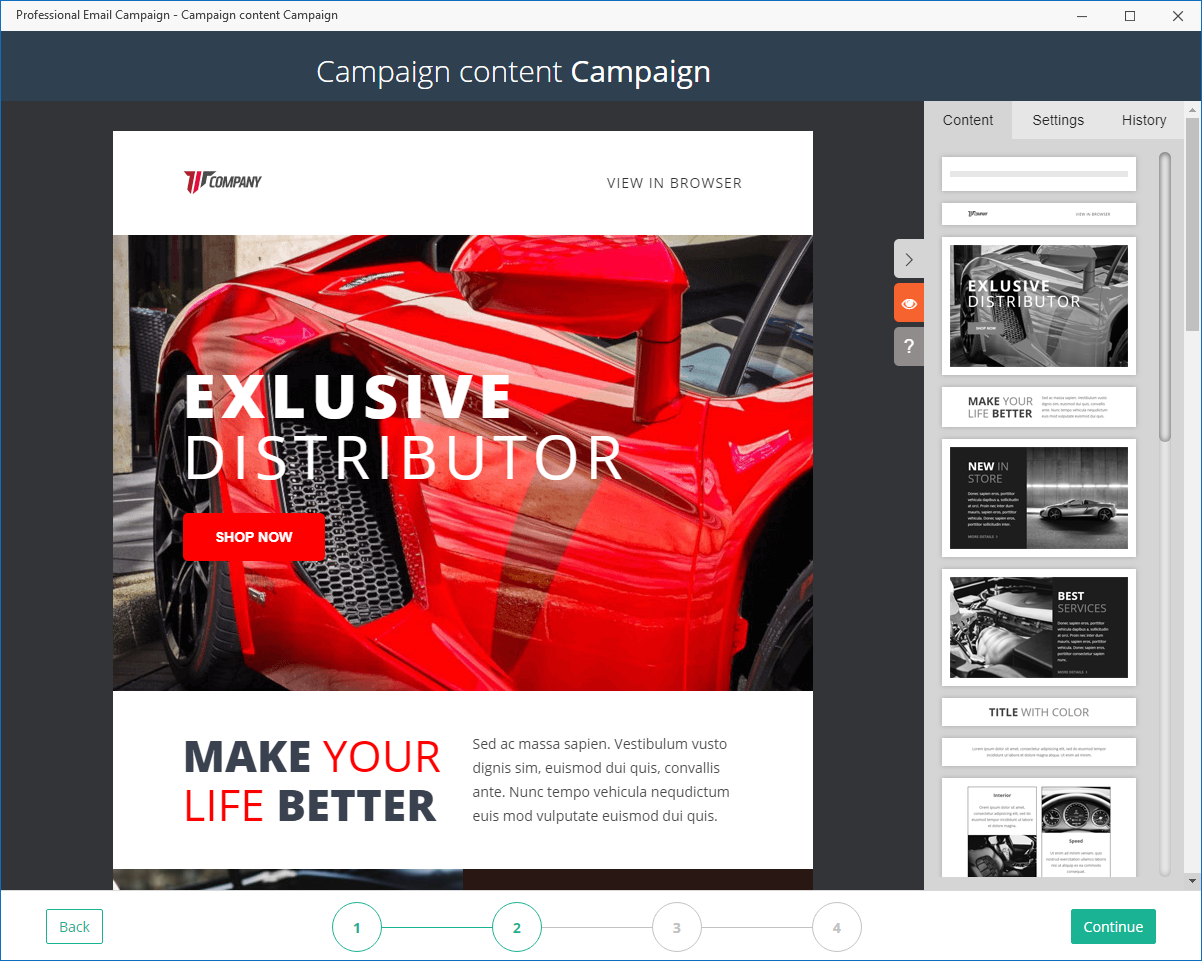
- In the first step, you can select an email template. Select previously used, predefined, or create new one. Then click Continue.
- In the second step, edit your email template (for more information about substitute symbols and other features, click here). If you are satisfied, click Continue.
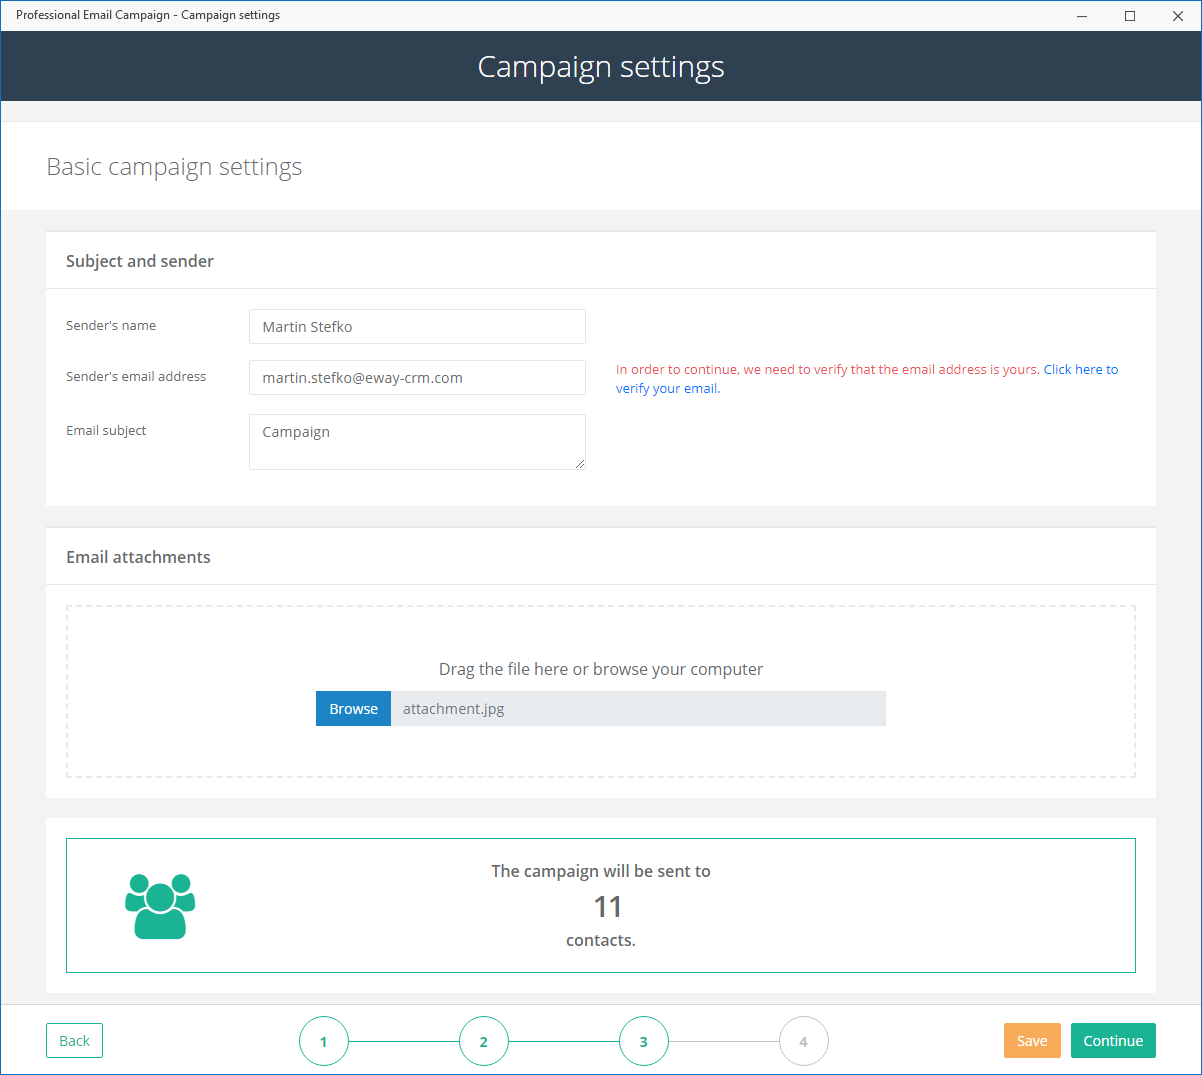
- In the next step, specify Sender’s Name, e-mail address and Email subject. You can also attach some file to your campaign. Once ready, click Continue.
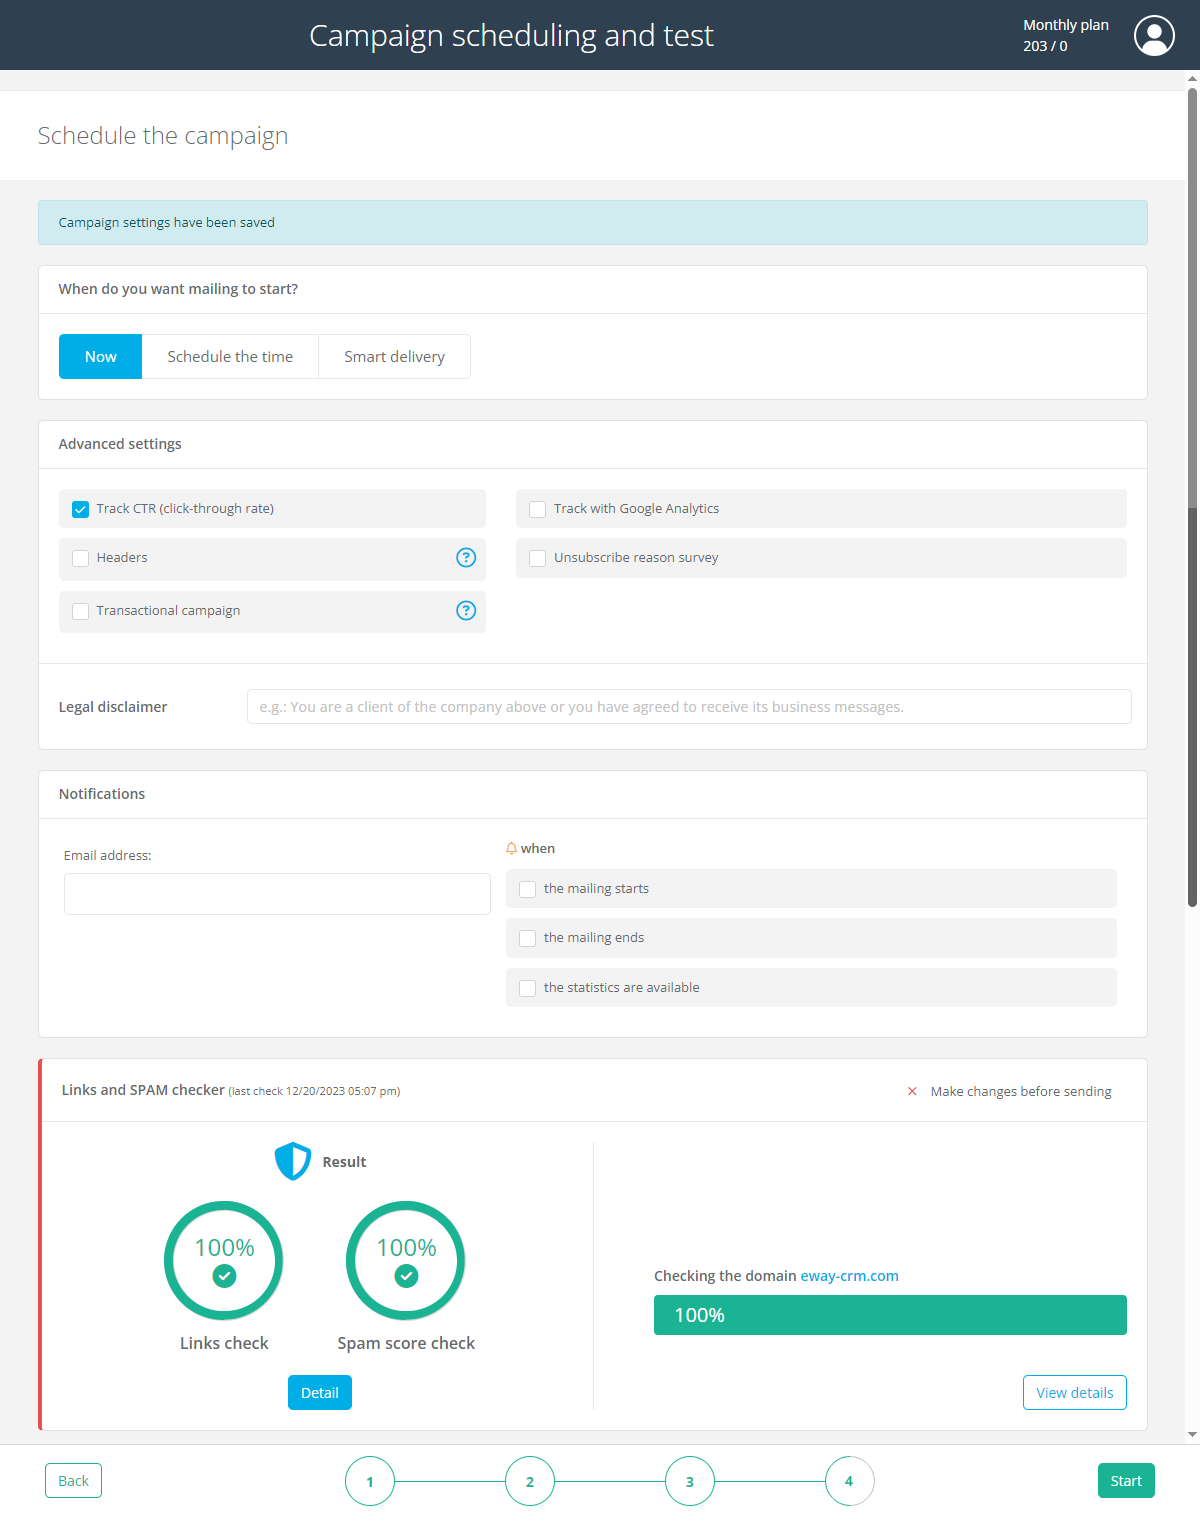
- The last step allows you to schedule the sending of campaign and specify other additional options (track link clicks, Google Analytics, send date, unsubscribe reasons, check links and SPAM).
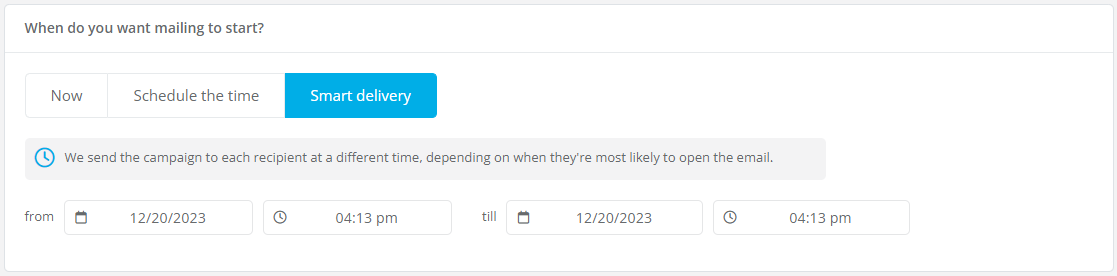
- You can use Smart Delivery function in this step. On the basis of the vast amount of data such as days and hours when emails are opened, clicks, holidays and other data that are not primarily related to marketing campaigns (e.g. current weather or time zone) Professional email will decide when emails will be sent to users for its best efficiency. You just set a time period when emails should be sent. For the best function of Smart Deliver, it is best to set periods longer than a few hours, the best results are in days. Click Start.
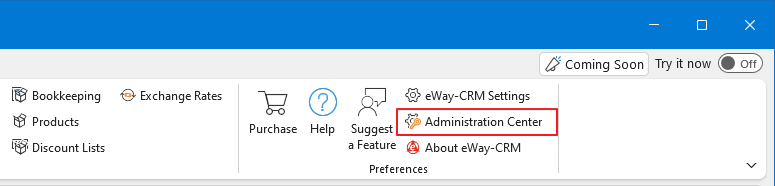
- If your Professional Emails subscription is not high enough to your need, click the Administration Center.
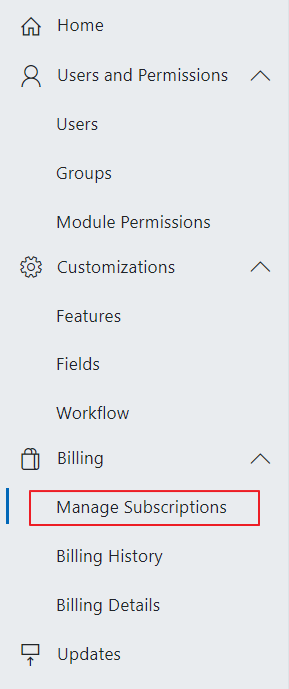
- Click Manage Subscriptions.
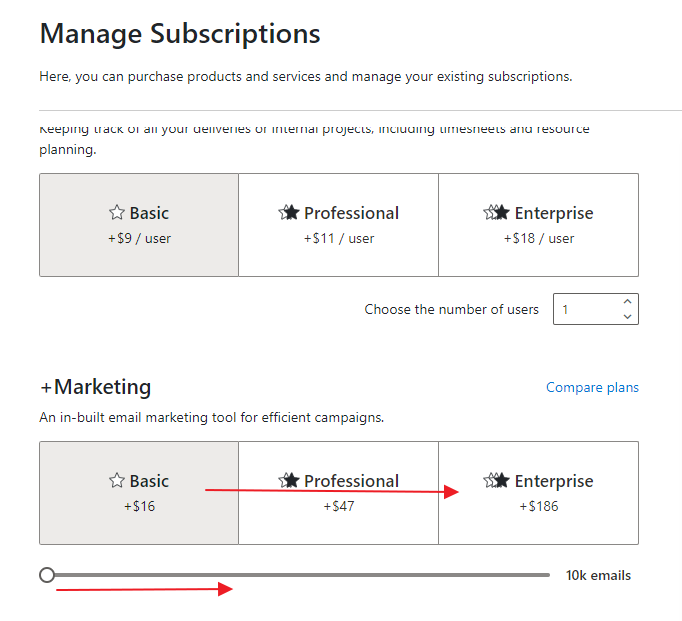
- Select higher plan for the Marketing or add more emails in your current plan and finish the order.


Note
We are able to prepare resource data just for your needs, e.g. projects or add journal to existing resource so you can build next campaign on results of previous one.

Note
The filtering of contacts is running based on the fact whether email address has correct format or is not missing at all. Because of it, the number of recipients in the Professional Email can be different from the number in the marketing list.
Tip on smart delivery
Do not use smart delivery for first campaigns. Send first campaigns in a normal way – then use smart delivery because the system has enough data to send it smart.
Note
If the user has eWay-CRM Free, it is still possible to send marketing campaigns but all will be marked as created in eWay-CRM in their foot by this text:
Sent by eWay-CRM Free, powered by Emailcampaigns.

Tip for advanced users
Some email service providers now often require valid SPF (Sender Policy Framework) records. Because of an absent or incorrect SPF record, your emails may end up in your customers‘ spam folders.
The SPF is a TXT type record that specifies that emailkampane.cz (our email service provider) may send emails on behalf of your domain.
On your domain provider’s website, you should add a new DNS record (TXT):
v=spf1 include:spf.emailkampane.cz ~all
To check out your SPF record, you can use this free on-line tool.
Be sure you also have to set DKIM and DMARC records. For more information, you can go to Set up SPF, DMARC and DKIM at GoDaddy.com.
Tracking Responses
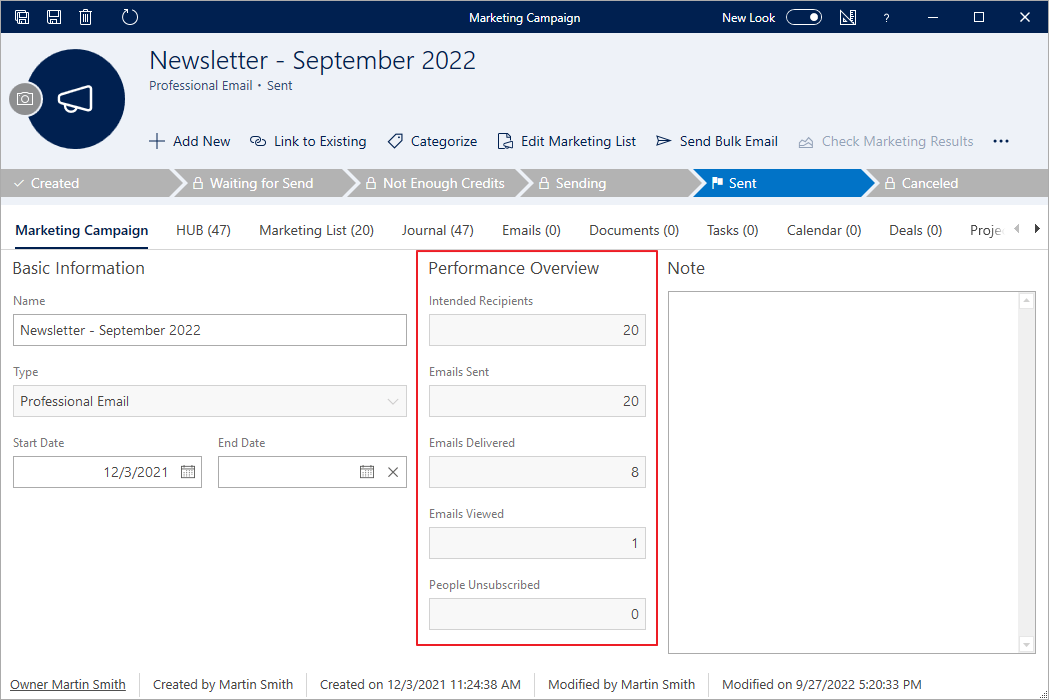
For quick review of marketing campaign results, you can use the Check Marketing Results function.
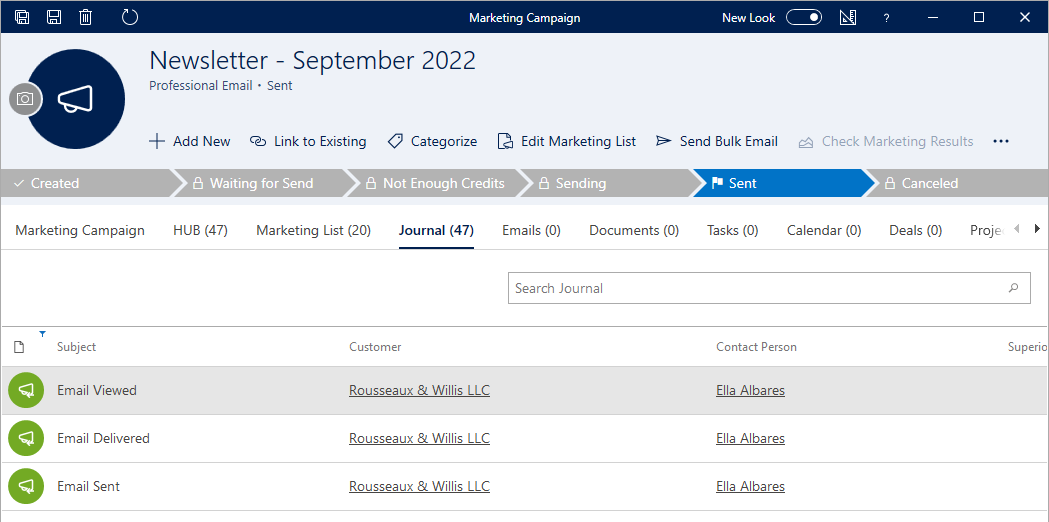
Responses (Journal tab on marketing campaign) are tracked and updated automatically. However, you can set what type of responses will be downloaded. First numbers will be available in 30-60 minutes, but it pays off to wait for several days.
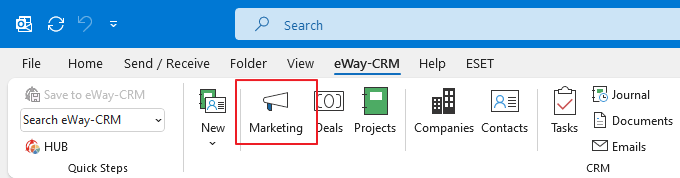
- Click Marketing on the eWay-CRM ribbon.
- The list of marketing campaigns will appear.
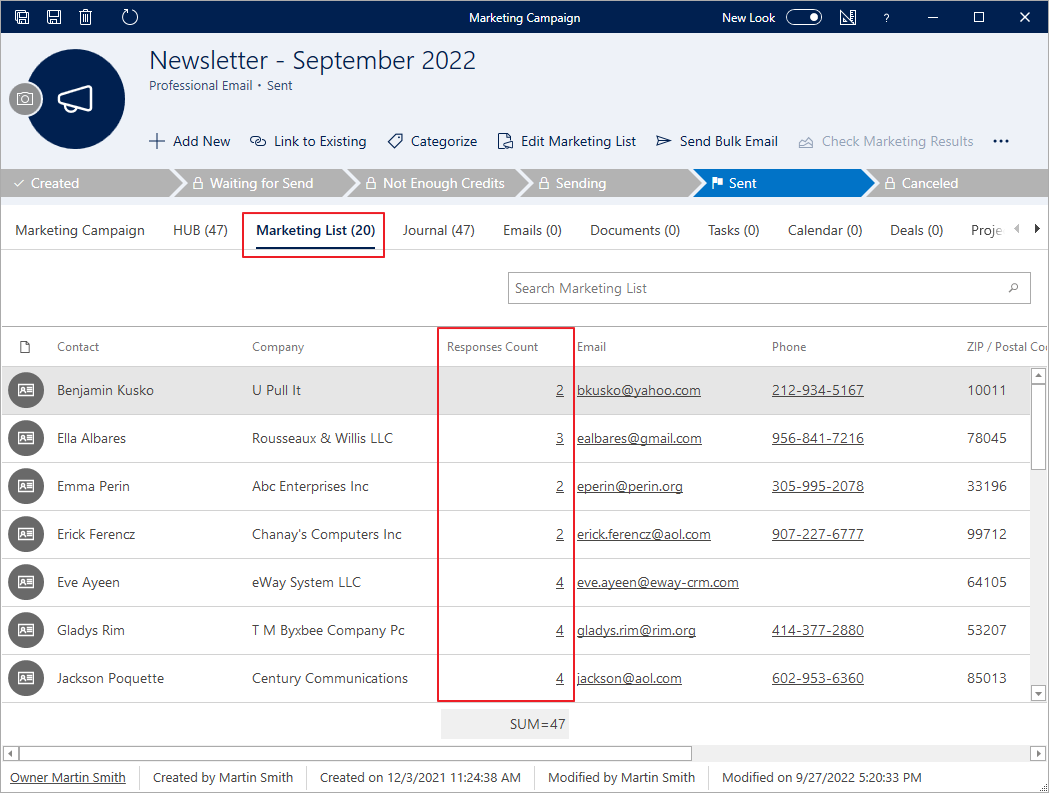
- Open the marketing campaign and check the total number of emails sent, delivered, viewed and people unsubscribed.
- You can also check the result for each email address separately. You can use the filter to get just people who unsubscribed or clicked on a particular link.
- Types of reactions can be as follows:
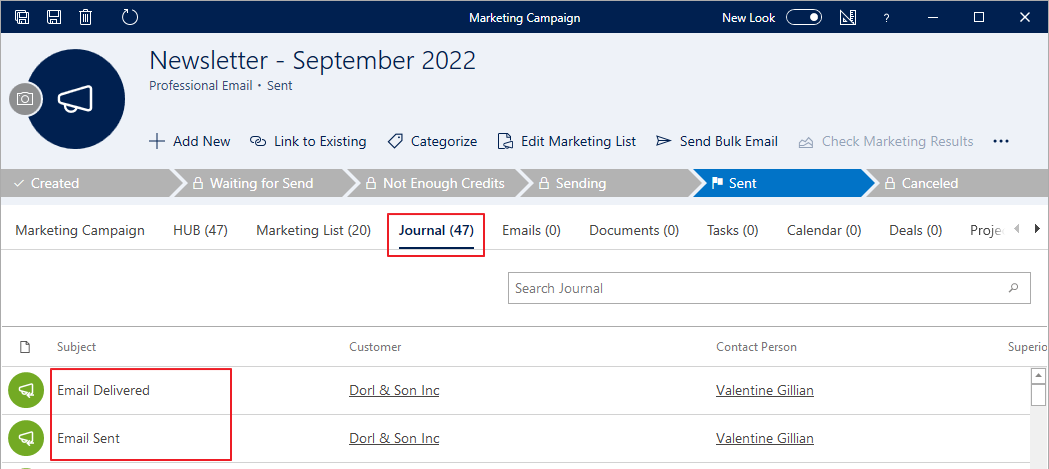
- Email sent is created just as you send a campaign.
- Email delivered will be created for all recipients from whom there where no other answer (such as Mailbox not found).
- Mailbox not found / Domain not found / Mailbox full / Antispam / Message size limit exceeded.
- Temporary error / Permanent problem with delivery – one of these errors occurred while delivering the message.
- Email viewed – email was opened.
- Email link opened – created when addressee clicks on any of the links that the message contains. In column Note is specified which of the links is the information related to.
- Marked as SPAM.
- Unsubscribed – if you have specified reasons, a respondent may choose one of the options. Reason will be specified after a hyphen in the title of a reaction.
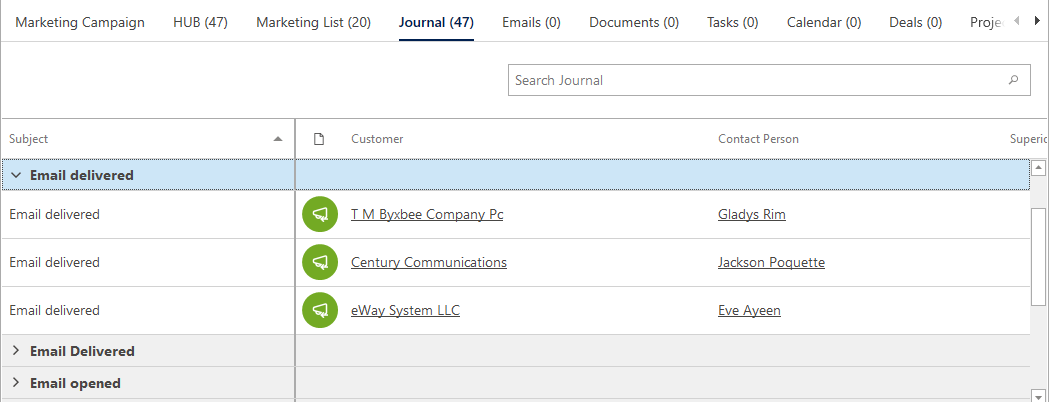
- You can group responses by titles.
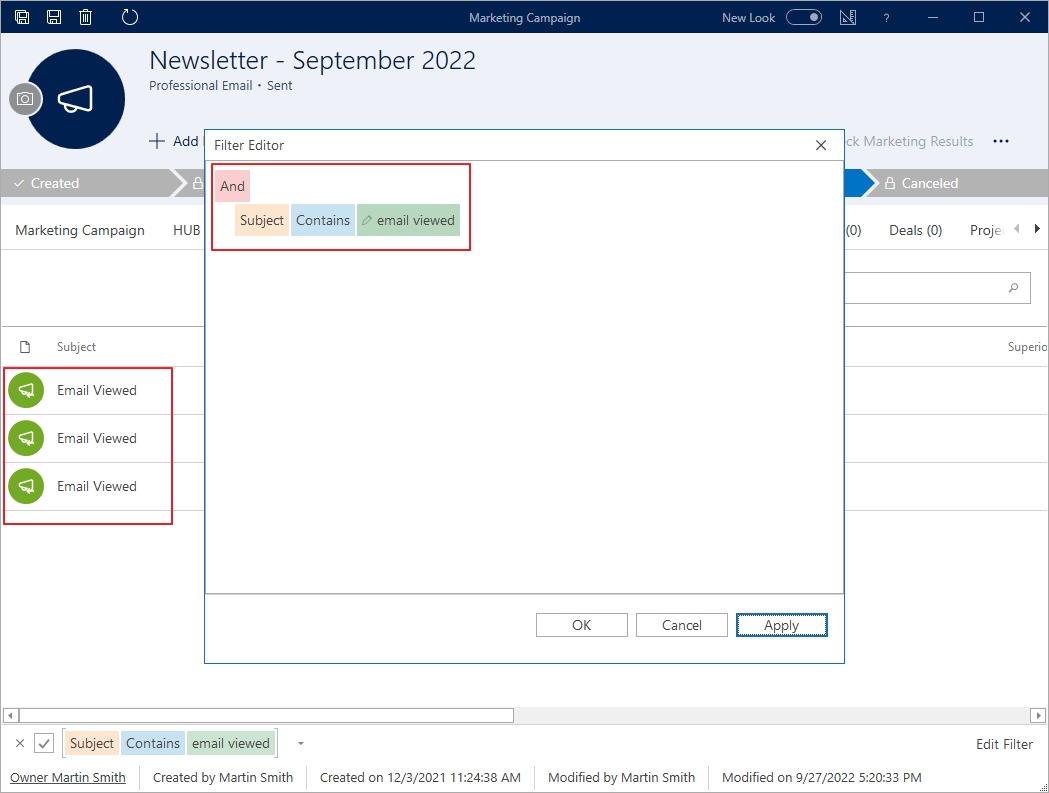
- Or you can create a filter to show only the title, for example “Email viewed“.
- You can also see history records for each of the contact. Double-click on a field with responses to open them.
- Here you can see responses for a specific respondent.
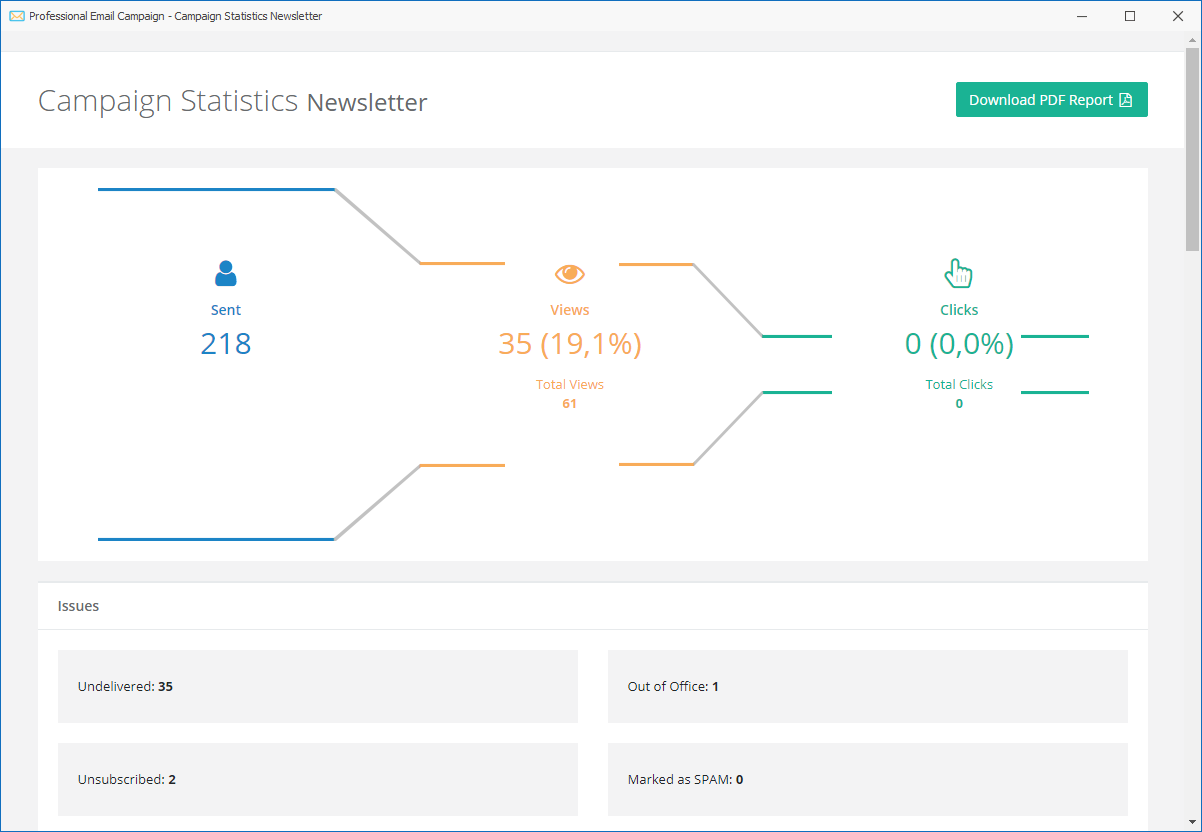
- You can also generate a Marketing report, which describes and summarizes the result of the marketing campaign. Detailed and visual statistics can be found at the sent campaign when you click Check Marketing Results in the campaign window.
- After clicking the button, you can review your campaign in charts and tables where is maximum information for you.
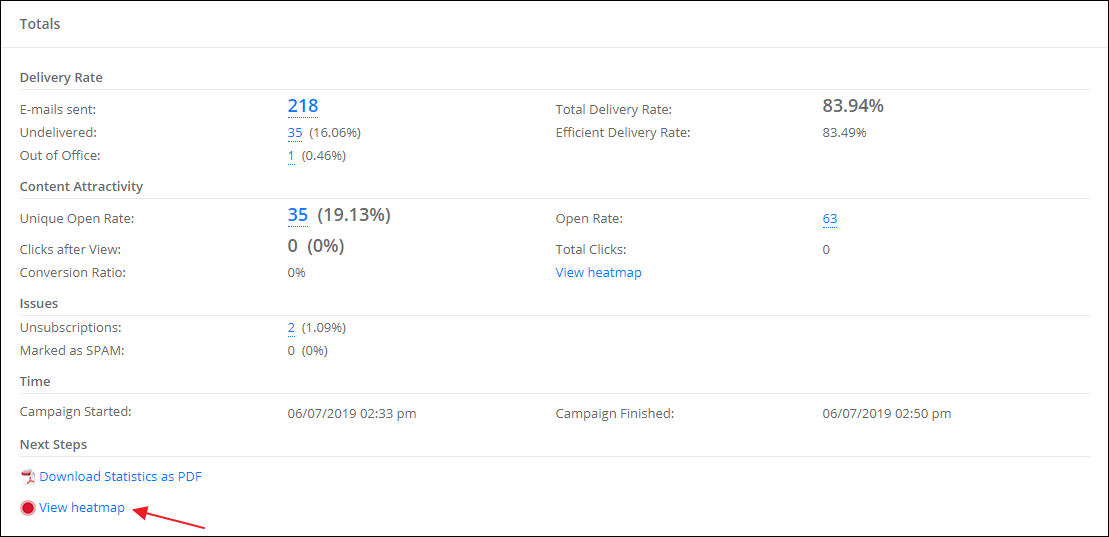
- In this section, you can also click View heatmap.
- You will see the email you sent to your customers where you have numbers of how many times receivers clicked on links in the message.
- You can find more information in these statistics, for better review, go to this article.

Tip on filtering
Learn more how to filter, group and search data here.
Warning
The function of advanced statistics is available since the module Marketing (Basic).

Was it useful?

Thank you for your feedback.
2 

