Create Custom Forms
Customize eWay-CRM Dialogues so that they fit your needs.
Content
Basics of Form Designer
Form Designer allows you to easily edit default layouts so that you can keep only the necessary fields and organize them in the most convenient way. Your forms are visible to all users but they can be customized only by users with administration permissions.
- Open a card where you want to customize the layout (e.g. company, contact, deal).
- Click Form Designer in the upper part of the window.
- The Customization Panel will appear. You can drag and drop its elements to create your custom layout (see more details below). To apply changes, click Save Form.
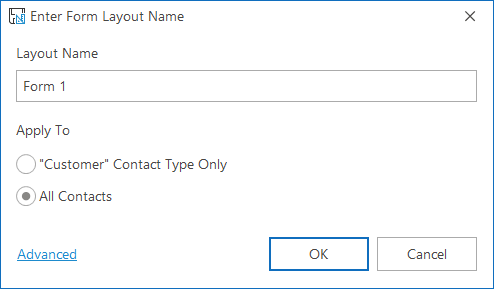
- When you are saving your form, this dialog pops up:
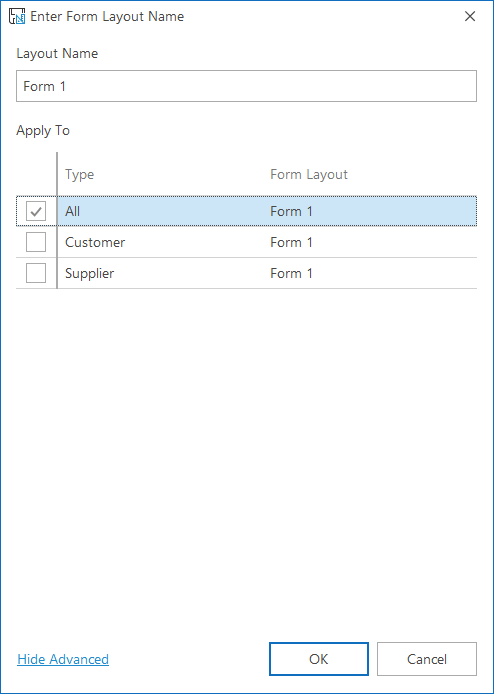
- You can save the form only for the current type, or you can set it for all item types. Click OK to confirm your choice. When you click Advanced, you will see the dialog, where you can select specific types on what new form will be applied. Click OK to confirm your choice.
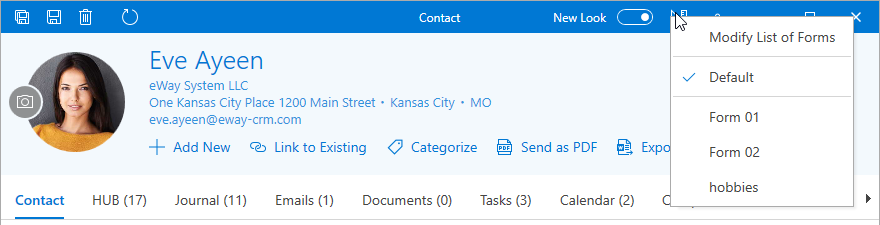
- It is possible to save multiple layouts under different names. To see the list of saved layouts, right-click the Design a Form icon in the top part of the dialog.


If you make a new form and save it for all types, the form will be the same for all types.
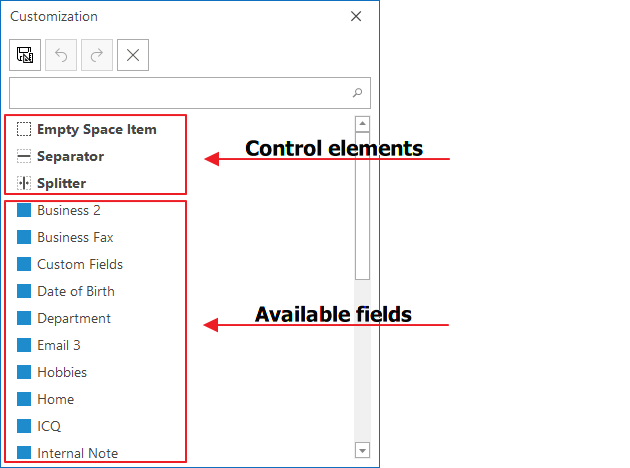
Customization Panel
The Customization Panel consists of control elements and separate fields (both default and custom).
You can use the panel to add fields onto the form or hide them through drag-and-drop. If you want to use a custom field, you need to create it in advance. Here is how.
Control elements allow you to create layouts of any complexity by combining the order and hierarchy of the elements on the form.
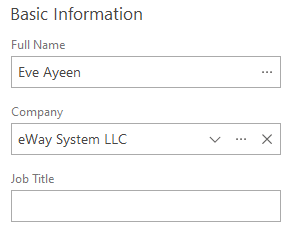
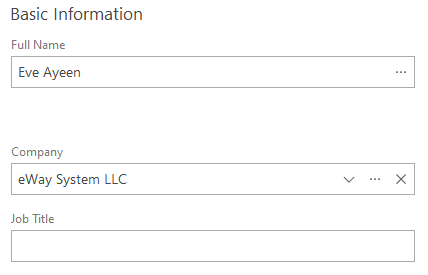
Empty Space Items
Empty Space Items are ’empty cells’ within the form that can be used to separate groups of fields and keep your layout tidy.
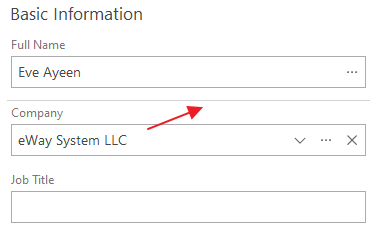
Before
After
To add Empty Space, drag-and-drop it onto the place you want.
To delete an empty space item from the form, drag it back to the Customization Panel or select it and press the Delete key.
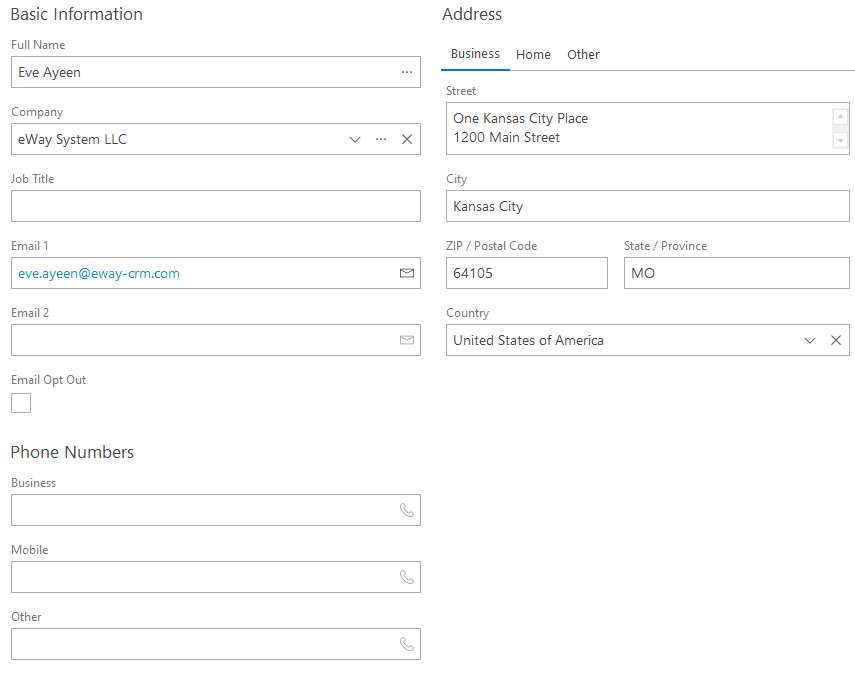
Splitters
You can use splitters to quickly resize layout elements.
Before
After
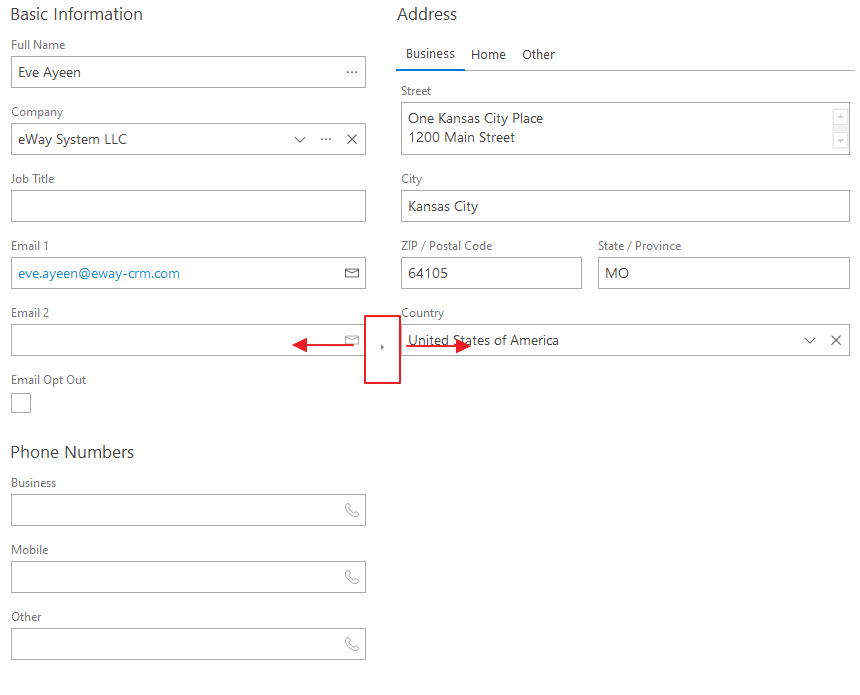
To add a splitter, drag it between blocks. You may want to right-click on any of this blocks and select Best Fit to level out blocks automatically.
To delete a splitter from the layout, drag it back to the Customization Panel or select it and press the Delete key.
Separators
Separators allow you to draw a divider between layout objects. As a result, a new separator is created and displayed at the position where it is dropped.
Before
After
To delete the separator from your layout, either drag it back to the Customization Panel or select it and press the Delete key.
Grouping
You can group fields into regular groups or you can create a tabbed group to organize regular groups.
Regular Groups
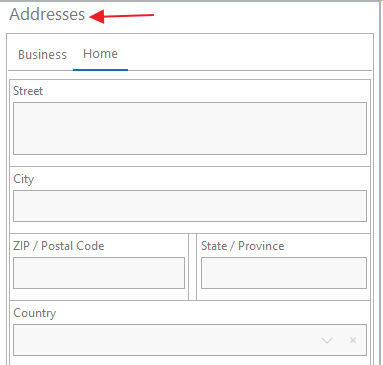
You can group fields and give it a specific name like in the example below.
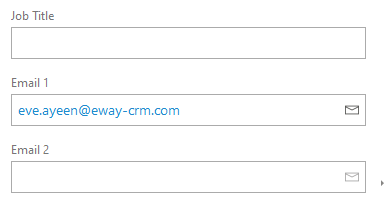
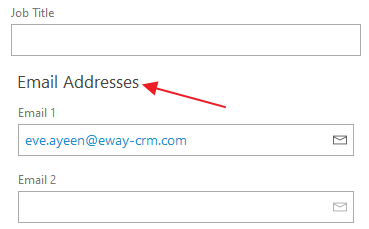
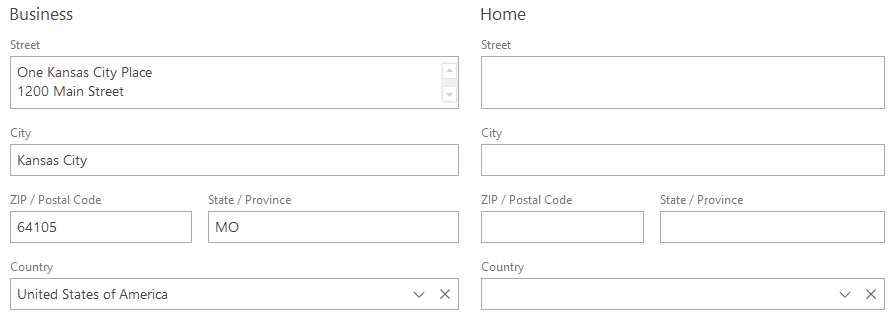
Before
After
To do that, follow the instruction.
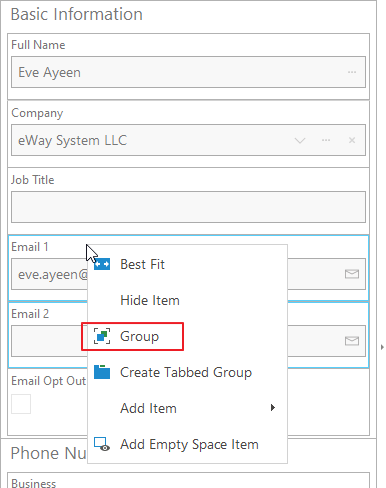
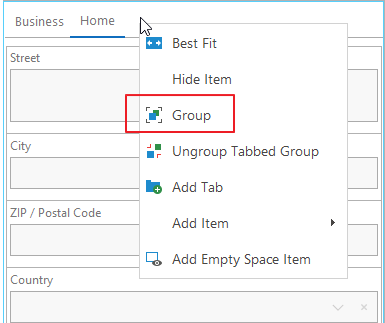
- Select fields you want to group while pressing Shift on your keyboard,
- Right click and select Group.
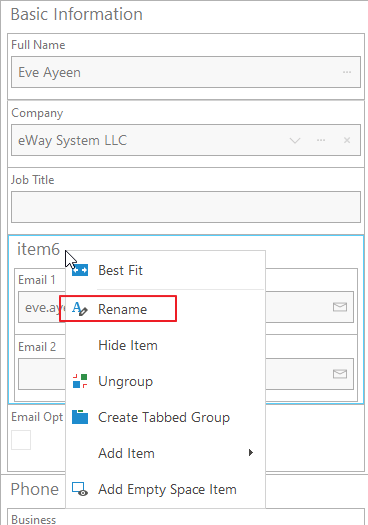
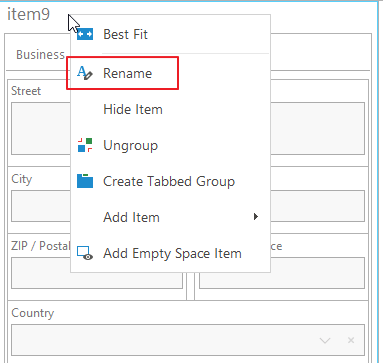
- Right click again and select Rename.
- Specify the name and press Enter on your keyboard.
- Click Save Form.
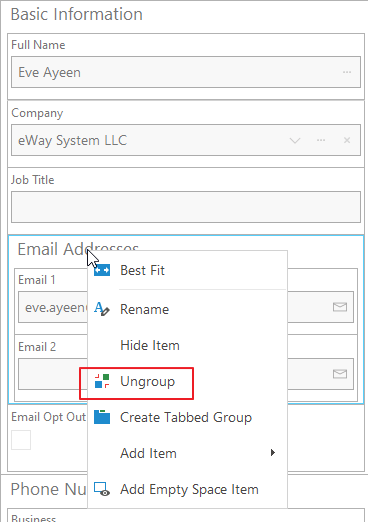
- To ungroup fields, right click the block and select Ungroup.
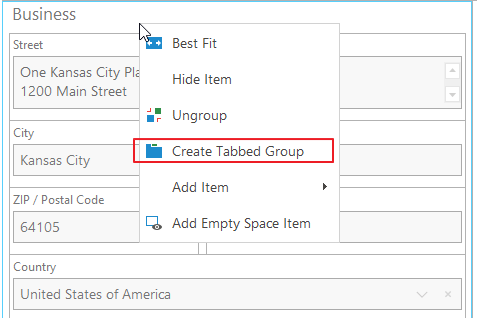
Tabbed Groups
Tabbed groups allow you to combine several blocks with the similar information into a single tabbed group.
Before
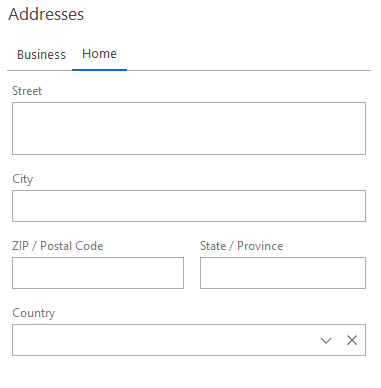
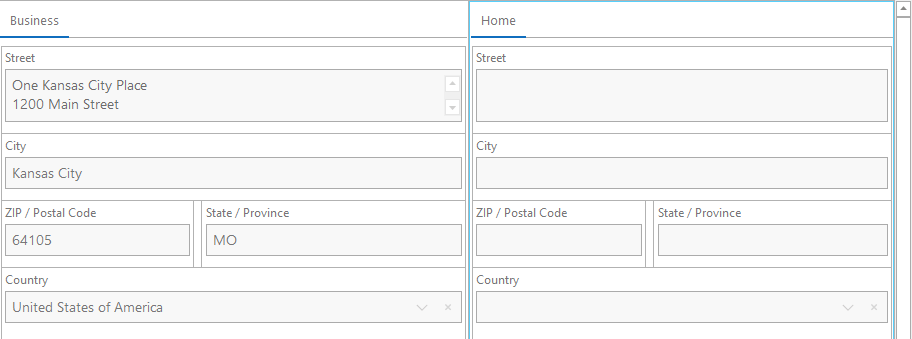
After
- Right click each block and select Create Tabbed Group.
- Blocks will appear as in the picture below.
- Now you can consolidate both groups into a single tab through drag-and-drop.
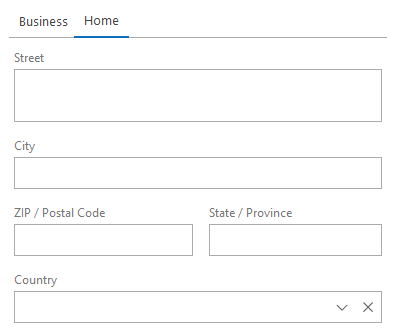
- Click Save Form. You should be able to switch between your tabs now.
- If you want to name the tabbed group, right click the whole block and select Group.
- Right click again and select Rename.
- Specify the name and press Enter on your keyboard.
- Click Save Form.

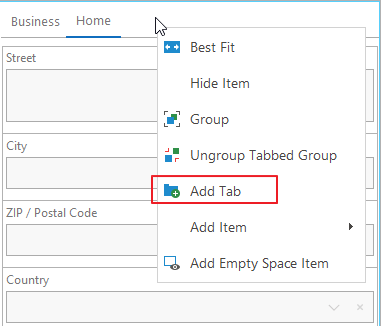
Alternatively, you can add a new tab by right clicking the block and selecting Add tab.
Was it useful?


